Article
How Cabinet Dimensions Are Calculated for Cut Lists
Cutlistor Team5 min read
Introduction
Calculating cabinet dimensions is the bridge from elevation to cut list. You start with overall box width, depth, and height, apply your joinery rules, and produce every finished panel size the saw or CNC must cut. Get the deductions wrong and every gable in a production run is off by a dado depth.
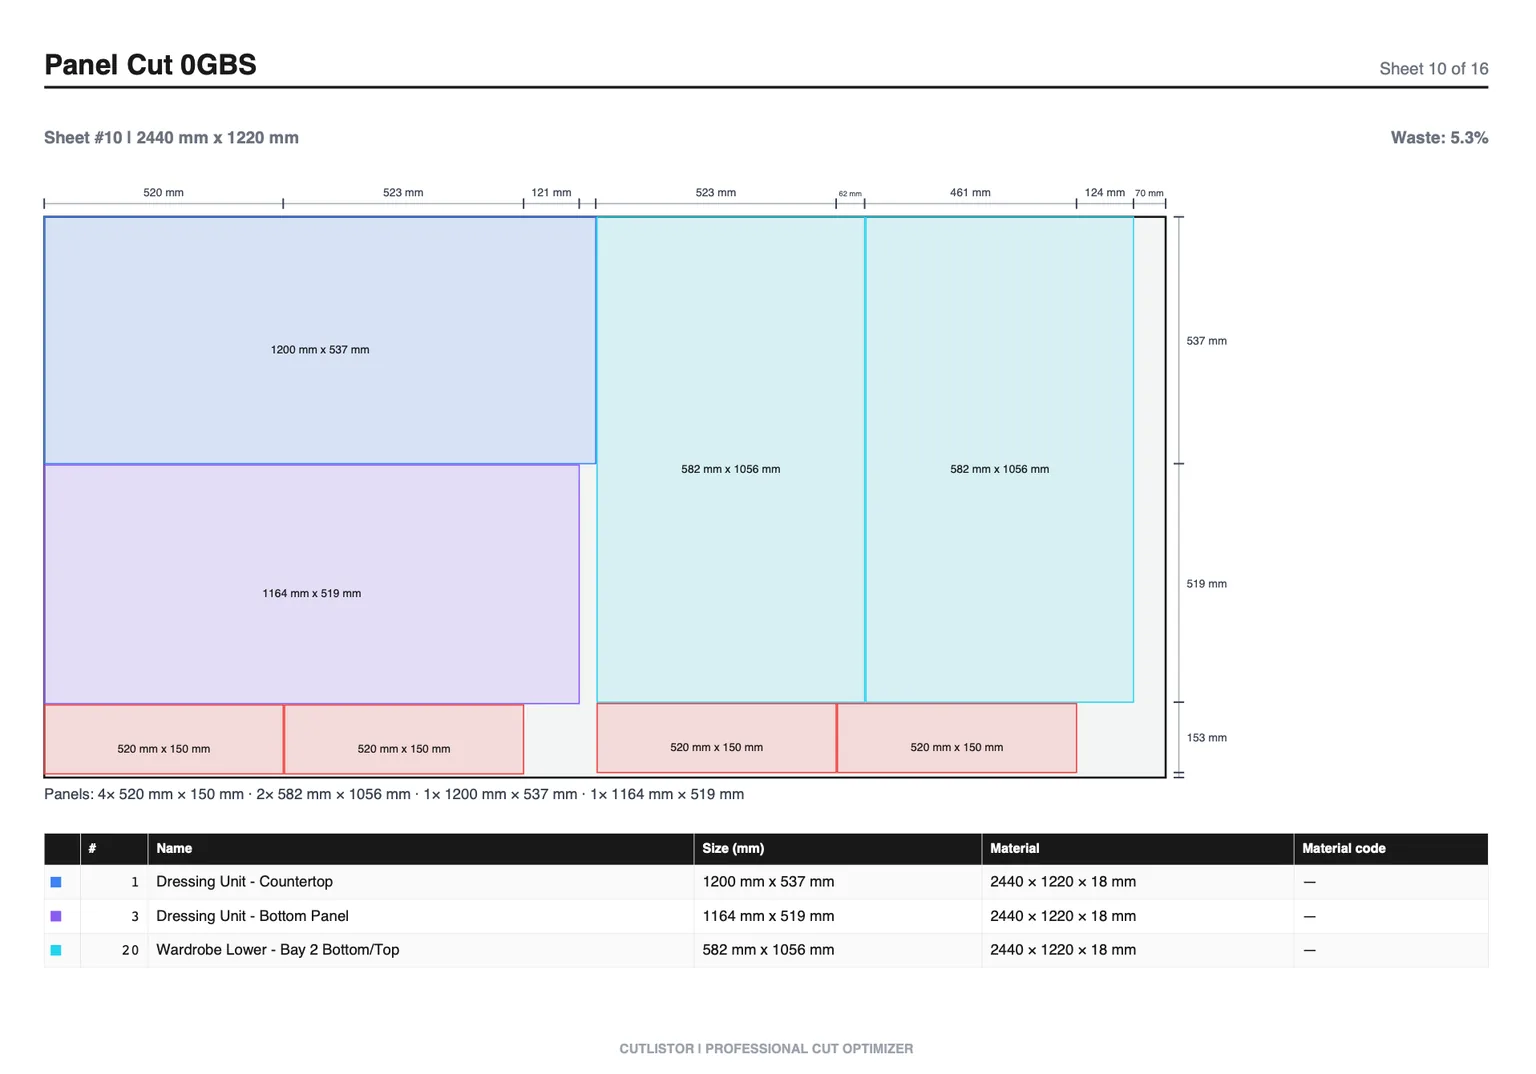
This guide walks professional shops through a repeatable calculation method for frameless and face-frame boxes, with worked numbers in inches and metric notes. It assumes you already understand what each dimension means; if not, read the understanding guide first.
Prerequisites: understanding cabinet dimensions and standard kitchen sizes. Then nest the results in Cutlistor.
Inputs You Must Lock Before Calculating
Do not calculate panels until these are fixed on the job ticket.
- Construction method: face frame or frameless
- Sheet thickness for gables/bottoms (measure actual, not nominal)
- Back thickness and inset/rabbet detail
- Joinery: butt, dado, rabbet, confirmat, dowel, or CNC lock
- Toe-kick method: integral recess vs separate platform
- Unit system: inches or millimeters for the whole job
- Overall W x D x H per box from the elevation
Frameless Box Calculation Method
Example convention (adapt to your shop): butt-joint or dowel carcase with bottom and top captured between gables, back set into a rabbet. Overall outside width W, depth D, height H. Material thickness T for gables and bottoms; back thickness Tb.
Gables
Gable height = H (for integral kick boxes that include kick in H). Gable depth = D if the back sits in a rabbet within D, or D minus Tb if the back is applied fully behind the gables. Write the rule once in your shop manual so every estimator matches.
Bottom and fixed shelves
For bottoms between gables with butt joints: finished bottom width = W - 2T. Depth often = D - Tb (if back closes the rear) or D minus rabbet engagement rules your CNC uses. Dados change the math: if the bottom sits in dados in each gable, width becomes W - 2T + 2*(dado depth).
Back
Full back height and width depend on whether it floats in a rabbet or screws to the rear edges. Rabbeted backs are often W - 2*(rabbet shoulder) by H - 2*(rabbet shoulder), cut from thinner stock. Keep backs on a separate cut list material group.
Worked Example: Frameless Base
| Part | Finished cut size (example) | Qty |
|---|---|---|
| Gable L / R | 34.5 in H x 24 in D | 2 |
| Bottom | 22.5 in W x ~23.25 in D (shop-specific) | 1 |
| Front stretcher | ~22.5 in x 4 in | 1 |
| Rear stretcher / nailer | ~22.5 in x 4 in | 1+ |
| Back | Per rabbet net opening in 1/2 in stock | 1 |
| Shelf (adjustable) | ~22.375 in x depth per reveal clearance | 1+ |
Face-Frame Box Calculation Method
Face-frame shops still calculate the box, then add stile and rail lengths. Overall width may be defined as frame outside or box outside; pick one. Common approach: build the box slightly smaller or flush, then apply a frame whose outside matches the elevation width.
Stile length often equals box height (or height minus rail overlaps for cope-and-stick). Rail length equals clear opening width between stiles, which is overall frame width minus two stile widths. Those linear parts go to the 1D optimizer, not the sheet nest.
Wall and Tall Cabinets
Wall cabinets use the same logic with different defaults: depth often 12 in (305 mm), height 30 or 42 in (762 or 1067 mm). Nailers at top (and sometimes bottom) are mandatory for hanging. Tall pantries stack dimensions to 84, 90, or 96 in and may split into multiple gable blanks if sheet height is limiting.
When sheet stock is 96 in (2438 mm) in one direction, a 96 in tall gable may require grain and sheet orientation planning so you are not short by kerf. Nest early; do not assume one gable per sheet strip without checking.
Runs, Fillers, and Field Measures
Calculate modular boxes to standard widths first. Sum the run, compare to wall-to-wall measure, and assign filler widths to absorb the difference. Do not stretch every box by 1/8 in in the cut list; that destroys drawer and door standards.
Recalculate only after the install measure is signed off. Prefabricated fillers can be ripped long and left wide for scribe.
From Calculation to Nest
Once every finished size is in the cut list, group by material and thickness, set kerf, and nest. Calculation errors and nesting errors look the same on the floor (wrong size parts), so keep them as separate QA steps: verify math, then verify sheet count.
The distinction that matters on the free plan is between reworking a layout and shipping one. Rework is unlimited. Shipping — a PDF export, or opening a new project — comes out of 3 per day. Alongside that sit a 20-row list cap, a 5-row limit per CSV or XLSX import, and no saved state.
FAQ
Should design software calculate this for me?
Good cabinet software exports panel sizes from your construction library. You still need to verify the library matches your joinery and to nest for purchasing. Blind trust in defaults is how dados get cut for the wrong thickness.
Do I add edge banding thickness to cut size?
Usually you cut to finished size including the edge after banding, or you cut slightly oversized and flush-trim after banding. Pick one standard. Do not mix both on the same job without labeling rows.
Where does kerf enter the calculation?
Kerf enters nesting and multi-part rips from a blank, not the finished design size of a single panel. Finished size is what assembly needs. Kerf is what the saw consumes between parts on a sheet.
Can I calculate in millimeters?
Yes. Example: 600 mm W x 610 mm D x 876 mm H with 19 mm panels. Bottom width for butt joints = 600 - 2*19 = 562 mm. Keep the entire cut list in mm.
Conclusion
Use the cabinet making pillar tools next, or paste your calculated BOM into the free sheet optimizer.