Article
How to Prepare Cabinet Parts for Production
Cutlistor Team3 min read
Introduction
Preparing cabinet parts for production is the handoff from planning to the floor. Sizes exist on the cut list; preparation makes sure every panel is identified, machined in the right order, and staged so assembly does not stall.
In a busy shop, preparation quality shows up as fewer missing parts, fewer remakes, and cleaner installs. This guide covers the production prep sequence after nesting and before final assembly.
Step 1: Release a Complete Job Package
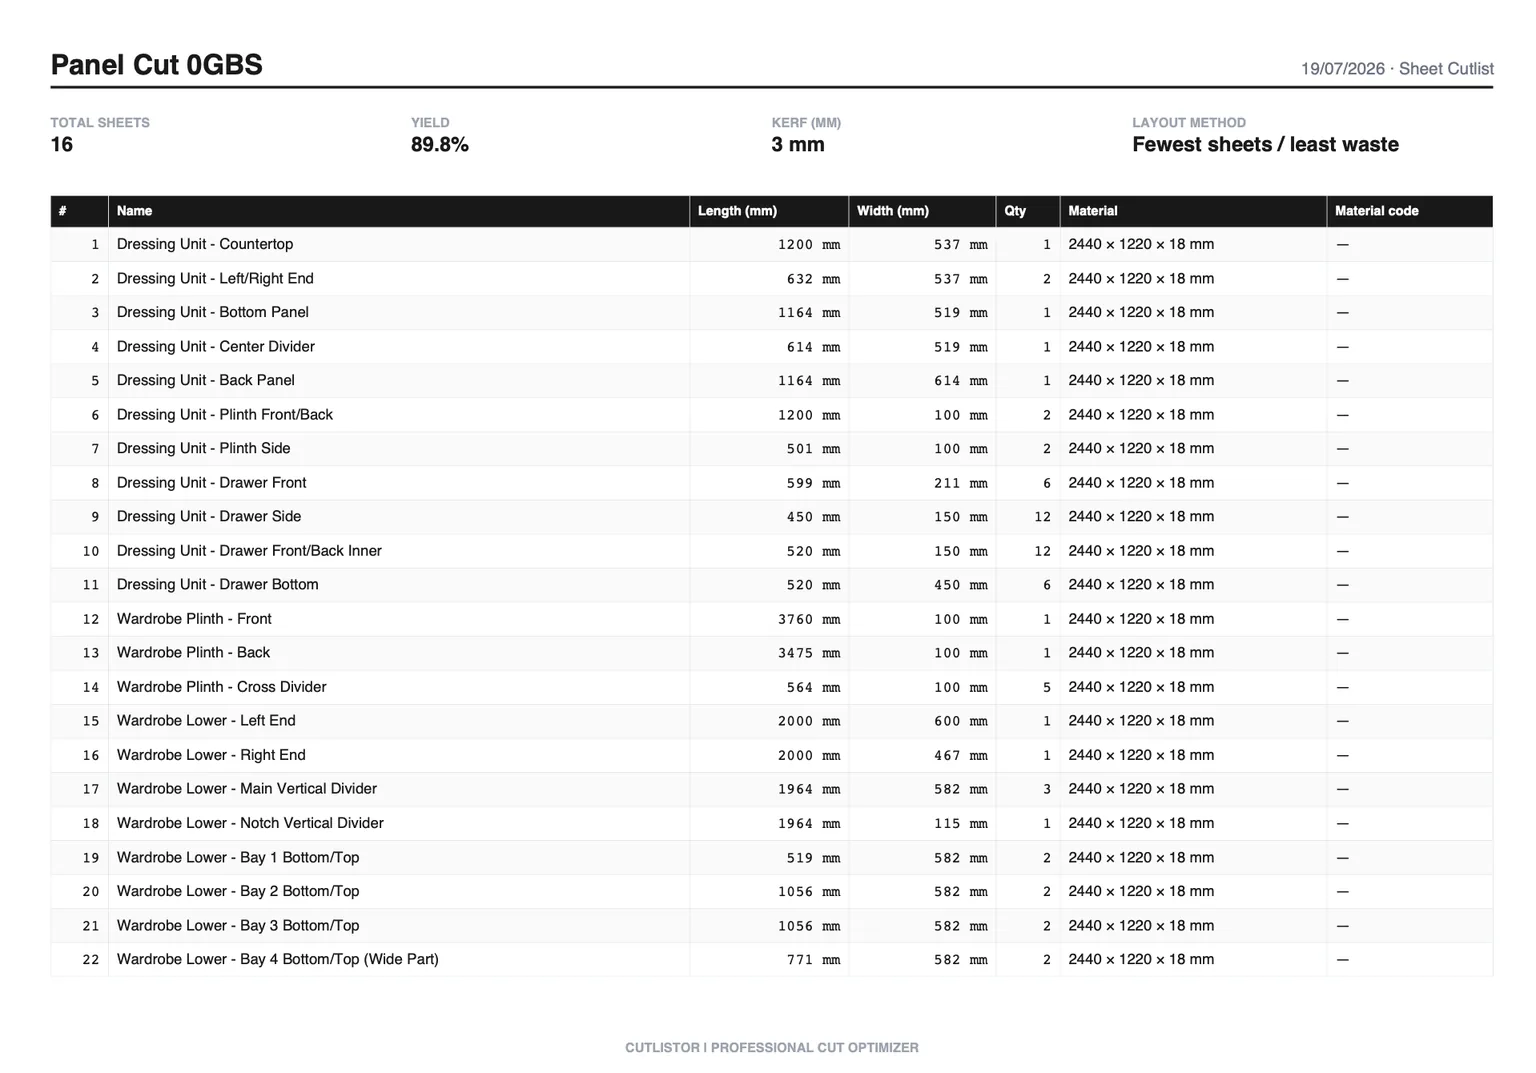
Do not send the saw a partial list. Release nest PDFs by SKU, linear lists for frames, hardware BOM, elevation map with cabinet IDs, and machining notes. One revision number on every document.
- Sheet nests with kerf and grain locks
- Linear cut list for face frames and cleats
- Door and drawer schedules
- Hardware counts by cabinet
- Edge-band color map
Step 2: Stage Materials and Verify SKUs
Pull sheets and lumber against the nested sheet count and linear totals. Verify thickness, finish face, and batch dye lot for adjacent elevations. Prefinished melamine from mixed lots can show on a long run.
Step 3: Cut, Label, and Sort Immediately
| Station | Prep output | Failure if skipped |
|---|---|---|
| Panel saw / CNC | Labeled parts + offcut tags | Mystery white rectangles |
| Edgebander | Banded show edges | Raw edges at install |
| Boring / CNC machine | Hinge and shelf holes | Hand layout on assembled boxes |
| Staging | Carts by cabinet ID | Assembly hunting parts |
Step 4: QC Against the Cut List
Spot-check critical sizes: gable height, bottom width, door pair widths, drawer box width. Confirm grain direction on ends and doors. Check that filler blanks exist for each elevation that needs them.
Step 5: Choose a Production Flow
Common flows: (1) complete one elevation at a time, (2) cut all sheets for the kitchen then assemble by ID, (3) CNC cut and machine in one program then assemble. Pick the flow that matches crew size and floor space. Batching sheets maximizes yield; staging discipline prevents mix-ups.
Using Cutlistor in Production Prep
Use Cutlistor to regenerate nests when a field measure changes one cabinet width. Re-export PDF plans with the new revision. Keep Excel for quoting if you want, but refresh the optimizer before cutting.
Cutlistor's free tier meters something different: editing parts and re-optimizing the layout are unlimited, and only PDF export and starting a new project count against a daily allowance of 3. Cut lists are capped at 20 rows, CSV and XLSX import is limited to 5 rows per file, and nothing is saved between sessions.
Pro at $12/mo saves the kitchen project between days and exports DXF for CNC rectangles. The browser tool is not full design software.
Worked Example: Prep Day for Five Bases
- Morning: pull 18 mm white sheets per nest count; pull woodgrain for ends; pull door blanks
- Cut white nest; label B01-B05 parts onto five carts
- Cut woodgrain ends; label and band
- Cut door nest; mark hinge sides
- QC bottoms and door pairs against list
- Afternoon: edge band, bore, stage for assembly tomorrow
FAQ
Should we edge band before or after CNC boring?
Follow your machine constraints. Some lines band first so finished edges exist before nesting cut; others cut, band, then bore. Consistency matters more than dogma. Note the order on the job package.
What do we do with usable offcuts?
Label remnants with size and SKU and return them to inventory. The next filler or stretcher may consume them and drop a sheet from the following PO.
How do CAD models fit this prep flow?
Extract parts from SketchUp, Rhino, or PDF drawings into the cut list, nest, then follow this prep sequence. Design software does not replace floor labeling.
Conclusion
Production prep turns a nested cut list into labeled, QC'd, staged parts ready for assembly. Release a complete package, cut and label immediately, verify critical sizes, and keep revisions under one job number.
Keep the live nest in Cutlistor so the floor always cuts from the current sheet plan.