Article
How to Plan Kitchen Cabinet Layouts: Work Zones, Runs & Traffic
Cutlistor Team5 min read
Introduction
Kitchen cabinet layout is not a style exercise first—it is a dimensional contract. Where you place the sink, range, fridge, and islands determines which box widths fit, which fillers absorb out-of-square walls, and which appliance models you can actually buy.
This guide walks through work triangles and modern work zones, base/wall/tall runs, island rules, traffic clearances, and small-kitchen compromises. Once the layout freezes, you can measure elevations and build a cut list or cabinet order without expensive redraws.
Work Triangle vs Work Zones
| Rule | Target | Why it matters for cabinets |
|---|---|---|
| Triangle leg | 1.2–2.7 m (4–9 ft) each | Sets minimum base-run lengths between appliances |
| Triangle perimeter | 4–8 m (13–26 ft) total | Too short = crowding; too long = wasted steps |
| Prep landing (sink) | ≥ 600 mm (24 in) each side | Locks sink base + flanking drawer banks |
| Cook landing | ≥ 300 mm (12 in) one side, ≥ 380 mm (15 in) other | Locks range/cooktop flanking boxes |
| Fridge landing | ≥ 380 mm (15 in) hinge side preferred | Affects tall pantry / end panel placement |
Zone planning tip: put trash and prep drawers next to the sink, pots/pans drawers next to the range, and everyday dishes between dishwasher and table path. That decides which base cabinets are drawers vs doors before you pick door styles.
Base, Wall, and Tall Runs
| Elevation type | Layout sequence | Common trap |
|---|---|---|
| Base run | Appliances → boxes → fillers → end panels | Freezing box widths before appliance model widths |
| Wall run | Windows/hood → boxes → fillers | Ignoring hood chimney width and light switches |
| Tall bank | Fridge/oven → pantry → filler | Fridge depth vs adjacent base counter alignment |
| Return / peninsula | Traffic clearance first, then boxes | Seating overhang fighting aisle width |
Islands and Peninsulas
| Clearance | Minimum | Comfortable |
|---|---|---|
| Work aisle (one cook) | 1070 mm (42 in) | 1220 mm (48 in) |
| Work aisle (two cooks) | 1220 mm (48 in) | 1520 mm (60 in) |
| Walkway (no cooking) | 910 mm (36 in) | 1070 mm (42 in) |
| Seating behind stools | 910 mm (36 in) to wall/obstacle | 1220 mm (48 in) if traffic passes |
| Island length vs stools | ~600–650 mm (24–26 in) per seat | Add knee space depth 250–300 mm (10–12 in) |
Island cabinet tip: place dishwasher or sink on the island only after confirming drain slope, electrical, and that the dishwasher door does not block the main aisle when open (~650 mm / 26 in swing).
Traffic Paths, Doors, and Appliance Swings
Layout fails when two doors collide or a fridge blocks the cook. Map door swings on the plan at 90° open. Include dishwasher, oven, fridge, and pantry doors—not just room entries.
- Keep primary traffic out of the cook–sink triangle when possible
- Avoid placing the dishwasher so its open door blocks the sink user
- Pull fridge 25–50 mm (1–2 in) past adjacent cabinets if the manufacturer requires for door clearance
- Corner bases (blind or lazy Susan) need door clearance into the adjacent aisle—test with tape on the floor
- Pocket or sliding doors help tiny kitchens where swing doors steal aisle width
Small Kitchen Layout Decisions
| Shape | When it wins | Cabinet implication |
|---|---|---|
| Galley (2 walls) | Narrow rooms, one cook | Two short elevations; careful appliance facing |
| L-shape | Open to dining, corner sink/range | One corner solution; fillers at both walls |
| U-shape | Max storage, two cooks if aisles allow | Three elevations; watch corner clearances |
| Single wall | Studios / open lofts | Tall + wall stack; limited landing zones |
Small-kitchen rule: do not shrink appliance gaps below manufacturer specs to “make boxes fit.” Shrink or custom-size a cabinet instead—or drop a wall cabinet over a landing zone you rarely use.
How Layout Locks Appliance and Cabinet Sizes
Freeze in this order:
- Appliance models (width, height, depth, panel-ready yes/no)
- Sink and faucet (cabinet width and door/drawer configuration)
- Elevation lengths and filler strategy
- Standard vs custom box widths
- Door style and overlay (affects reveals and filler trim)
- Cut list / shop drawings / order confirmation
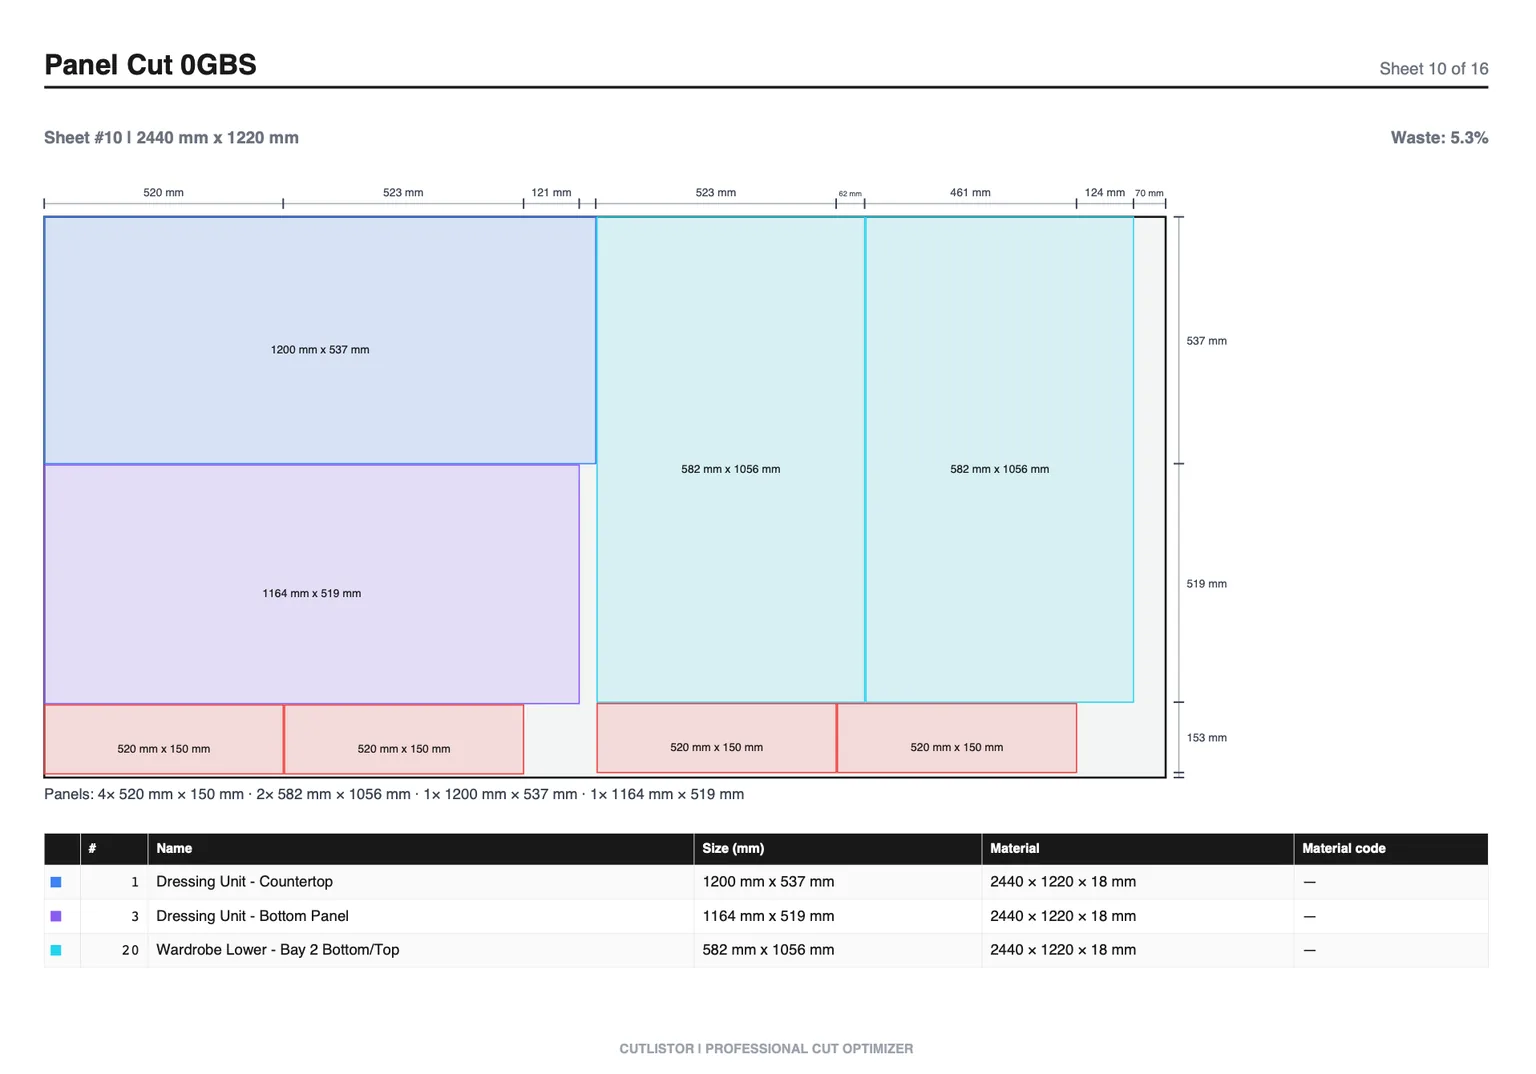
Custom shops: after the layout freeze, build the full cabinet cut list and nest sheet goods before the material PO. Homeowners ordering semi-custom: treat the dealer’s confirmation drawings as the freeze document—mark appliance model numbers on every elevation.
Layout Freeze Checklist
| Gate | Pass criteria |
|---|---|
| Zone / triangle | Landing spaces meet targets; traffic does not cut the cook path |
| Aisles | Island/peninsula clearances measured with finished flooring thickness noted |
| Appliances | Exact model widths and clearances on plan |
| Elevations | Wall-to-wall lengths, windows, hood, electrical, plumbing marked |
| Fillers | Budget reserved at walls and appliance banks |
| Doors / swings | No hard collisions at 90° open |
| Cabinet sizes | Box schedule sums to each elevation ± filler |
FAQ
Should a small kitchen get an island?
Only if you can keep at least ~1070 mm (42 in) work aisles after the island cabinet depth and counter overhang. Otherwise use a peninsula or a rolling cart and put the budget into better tall storage.
Should I force every cabinet to a catalog width?
Use standard widths where they fit; absorb remainder in fillers or one custom box per elevation. Forcing only catalog sizes often creates awkward 25–50 mm gaps that look like mistakes.
When is moving the sink worth it?
When the current triangle is badly broken or an island prep sink unlocks seating. Budget plumbing and floor repair as real costs—often more than a few custom cabinet boxes. See the renovation guide for scope tradeoffs.
Where does a cut list optimizer fit in layout planning?
After the elevation schedule is frozen. Layout decides sizes; the optimizer decides how many sheets you buy and how parts nest. Use Cutlistor once you have part dimensions from the cabinet run.
Conclusion
Good kitchen cabinet layouts protect work zones, aisles, and appliance clearances first—then fill the remaining wall lengths with base, wall, and tall runs. That sequence locks cabinet sizes so you are not redesigning after materials are ordered.
When the plan is frozen, move to elevation measuring, fillers, and a nested cut list. Start with the kitchen renovation hub and the cabinet run guide, then nest sheet goods in Cutlistor before the lumberyard PO.