Article
How Plywood Grain Direction Affects Cutting & Nesting
Cutlistor Team4 min read
Introduction
Face grain direction is the difference between a cabinet side that looks intentional and one that looks like scrap rotated to fit. It also changes tear-out at the saw and, on long shelves, how the panel feels under load. Nesting without grain rules maximizes yield on paper and creates remakes in the shop.
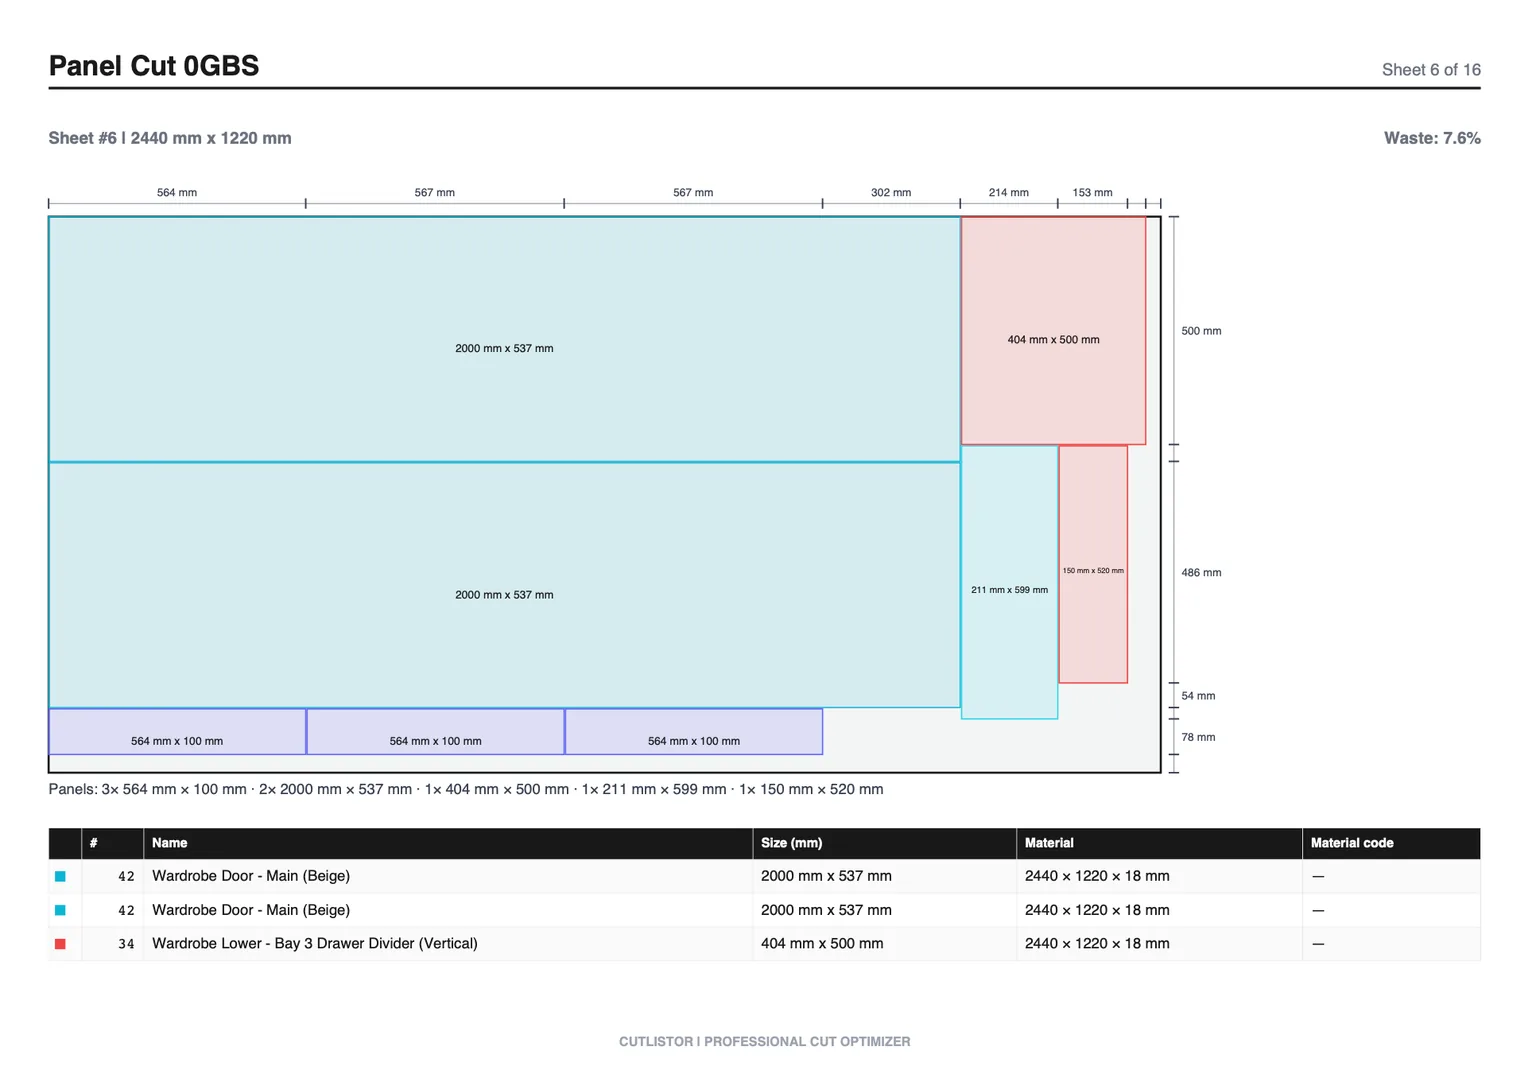
This guide explains what “grain direction” means on plywood, when to lock it, when you can rotate freely, and how Cutlistor’s grain locking works with kerf and material grouping.
What grain direction means on plywood
On veneer-core plywood, the outermost face veneer has a visible grain that usually runs the length of the sheet (along the 8 ft side on a 4×8). Inner plies alternate direction for stability. When woodworkers say “run the grain vertically on the door,” they mean the face veneer’s grain — not the core.
Baltic birch and other multi-ply panels still have a face grain direction even when edges show many plies. Melamine woodgrain prints behave the same for appearance: the pattern has a direction even though the particle core does not.
Mark the face side and grain arrow on each blank before you rip. Once parts leave the nest diagram and hit the saw, it is easy to flip a panel and ruin a sequenced elevation. A pencil mark costs nothing; a remade door does not.
Appearance rules shops actually follow
- Doors and drawer fronts: grain usually vertical when installed.
- Cabinet sides: vertical grain to match doors.
- Fixed shelves: grain often left-to-right (along the span) for look; structure is mostly from thickness and support.
- Sequences and bookmatches: keep parts from the same sheet area when figure matters — mark before cutting.
- Paint-grade: grain lock matters less for looks, but still affects tear-out if the face is open-pore.
Strength: what grain does and does not do
Plywood’s cross-lamination already balances strength; it is not solid lumber. Face grain direction still influences how a thin panel feels and how edges chip, but thickness, core quality, and support spacing matter more for sagging shelves than rotating a part 90°.
Do not chase grain for strength while ignoring span tables. If a shelf sags, move to thicker stock, add a cleat, or switch from MDF to plywood — see plywood vs MDF — rather than relying on face grain alone.
Cutting and tear-out
Blade exit tear-out is often worse across the face grain than with it, depending on veneer species and blade. A sharp high-tooth blade, scoring, tape on the exit face, or a climb-cut strategy on a track saw reduces chip-out.
When grain is locked, the optimizer may use more sheets — that is not a bug. The alternative is doors with horizontal grain that the client rejects.
Nesting yield vs grain lock
| Part type | Grain lock? | Reason |
|---|---|---|
| Doors / drawer fronts | Yes | Appearance |
| Visible ends / sides | Yes | Match adjacent parts |
| Interior shelves (closed box) | Optional | Less critical if edge-banded |
| Cabinet backs | No | Hidden; reclaim yield |
| Paint-grade MDF | No (unless patterned) | No wood grain |
| Woodgrain melamine | Yes on show faces | Pattern direction |
Grain locking in Cutlistor
In Cutlistor’s sheet nesting, mark parts that must keep a grain direction so the layout will not rotate them into a bad orientation. Combine that with measured kerf and material grouping (18 mm show ply separate from 6 mm backs).
A practical workflow: nest once with grain unlocked to see the absolute minimum sheet count, nest again with show parts locked, and price the difference. If locking adds a full sheet of expensive face ply, consider demoting some “semi-visible” interiors to unlocked orientation or to a cheaper secondary sheet.
Use the free cut list optimizer to run that comparison before you buy — editing and re-optimizing are unlimited in-session; PDF exports are 3/day and lists cap at 20 rows on the free tier. Dedicated calculators for plywood and Baltic birch are useful starting points.
Workshop checklist
- Decide grain orientation on the elevation drawing before nesting.
- Label parts “grain vertical” or “grain along length” in the cut list notes.
- Lock show parts; free hidden parts.
- Enter real kerf so locked nests still fit.
- Inspect face veneer direction on the sheet before the first rip.