Article
How to Create a Cut List From a PDF Drawing
Cutlistor Team3 min read
Introduction
Many woodworking jobs arrive as PDF drawings—architect elevations, cabinet shop drawings, or a scanned sketch from the client. The bottleneck is takeoff: reading every panel size into a spreadsheet before you can nest.
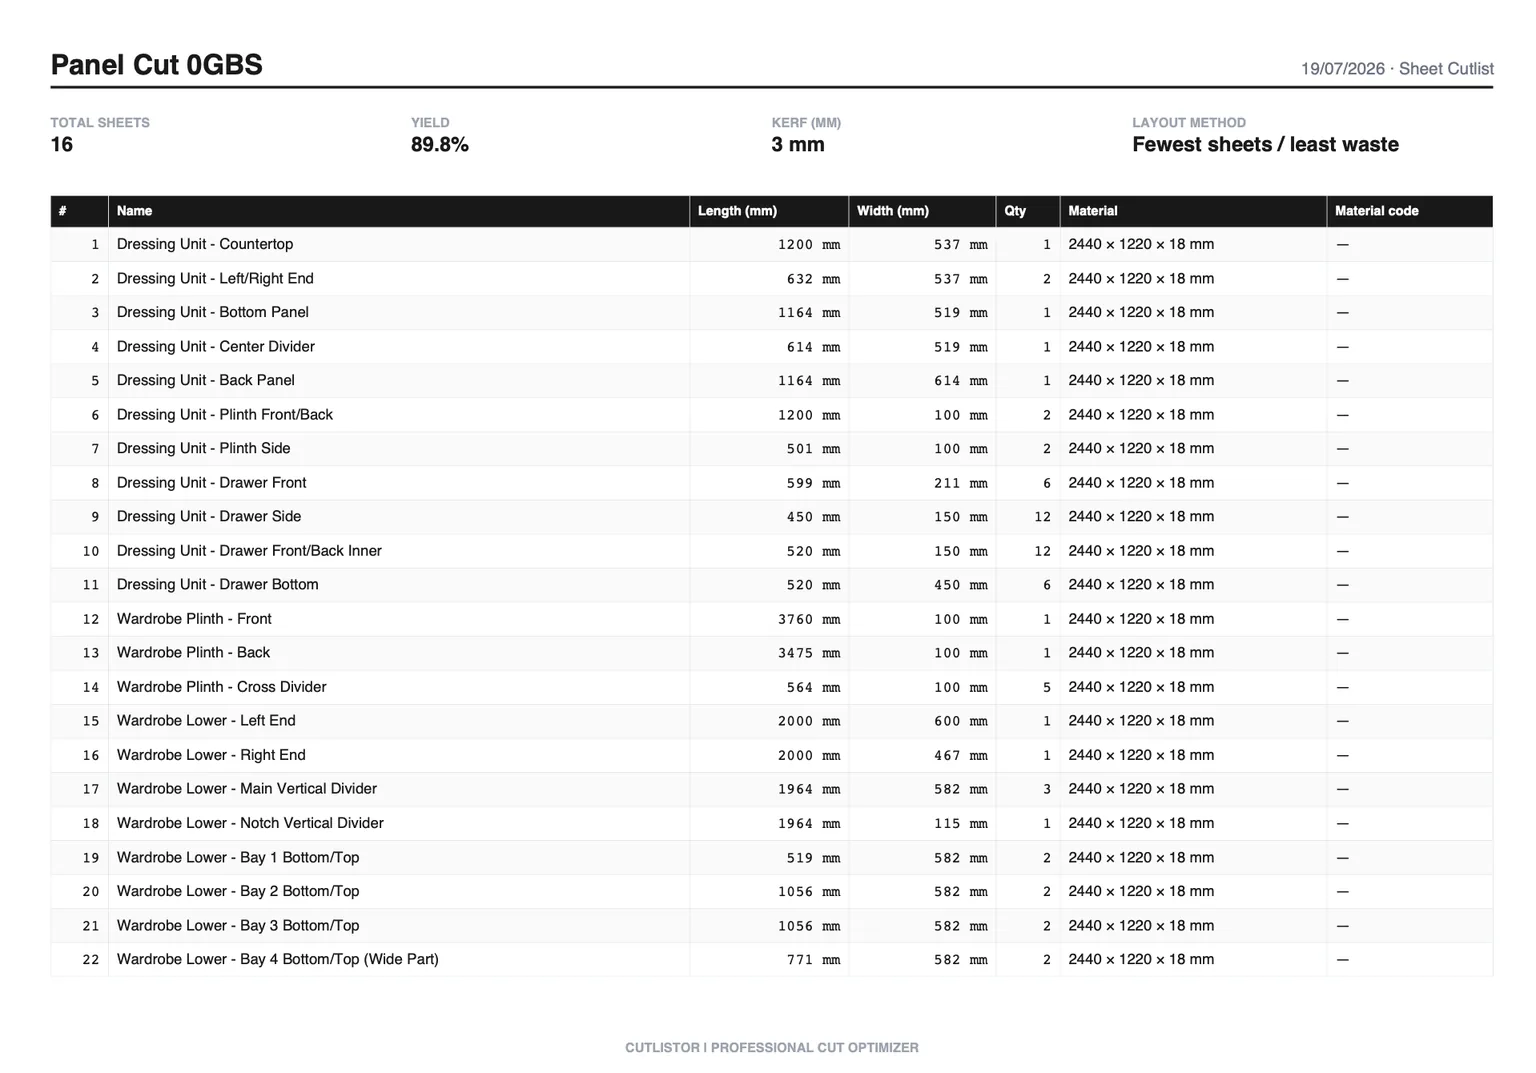
Cutlistor can import plans, PDFs, images, and sketches with AI to seed a cut list. You still verify dimensions, materials, and quantities, then optimize sheet or linear stock in the browser. This article walks through a reliable PDF-to-cut-list workflow.
What PDFs and images work best
| Source | Suitability | Tips |
|---|---|---|
| Vector PDF shop drawings | Excellent | Keep dimension text sharp; avoid heavy hatching over sizes |
| Exported CAD PDF | Excellent | One scale per sheet; crop title blocks if noisy |
| Scanned paper plans | Good | Scan flat at high DPI; straighten skew |
| Phone photo of sketch | Fair | Good light, square to page; expect edits |
| Rendered 3D screenshot only | Poor alone | Prefer glTF/GLB/Collada import instead |
Step 1: Prepare the PDF or image
Export or scan pages that contain the parts you will cut—elevations with panel sizes, door schedules, or a dimensioned sketch. Crop away unrelated cover pages. If units are mixed, note whether the drawing is metric or imperial before import.
- One clear scale or fully written dimensions
- Readable part callouts or a legend
- Thickness and material notes if present
- File under ~typical plan size so pages stay sharp
Step 2: Import with AI plan / PDF / image scan
Worth knowing before you test it: the free tier never charges you for iterating. Editing part sizes and re-nesting are unlimited. Only PDF exports and new projects count, 3 of them a day. Lists are capped at 20 rows, CSV and XLSX imports at 5 rows per file, and no work carries over between sessions.
AI plan scans and 3D model imports also have monthly free-tier quotas; paid plans raise those caps. CSV/XLSX import remains available when your takeoff already lives in a spreadsheet.
Step 3: Verify every dimension against the drawing
| Check | What to fix |
|---|---|
| Units | mm vs inches; convert before nesting |
| Finished vs cut size | Subtract edge banding or add tenon length as your process requires |
| Grain | Lock show faces; unlock utility panels if rotation helps |
| Duplicates | Merge identical parts into one row with quantity |
| Non-rectangles | Approximate with bounding rectangles or CNC outside Cutlistor |
Step 4: Add stock, kerf, and nest
Enter sheet sizes you will buy (or board lengths for linear parts). Set kerf for the blade or bit. Review the nested layout in real time as you correct rows. Export a PDF cut plan for the floor; DXF export is available on paid plans for CNC.
Manual fallback when AI is not enough
If the drawing is too messy, build the list by hand or in Excel, then import. For CAD-native models, prefer glTF, GLB, or Collada over screenshots. SketchUp and Rhino users can follow those dedicated workflows, then bring sizes into Cutlistor.
Shop checklist after PDF takeoff
Do not cut until this list is green.
- Every show panel size matches the PDF revision date
- Materials and thicknesses split correctly
- Kerf matches today’s tooling
- Grain locks reviewed
- PDF cut plan exported and titled with job ID
- Materials prepped (acclimated, labeled)
Next steps
For model-based takeoff, continue to cut list from a 3D model. For spreadsheet BOMs, see CSV and Excel import guides. Roundups of free and paid optimizers help if you are choosing software.