Article
How to Measure a Kitchen Before Renovation: Room Survey Checklist
Cutlistor Team4 min read
Introduction
Most kitchen renovation problems that look like “design issues” started as bad measurements. Ordering cabinets from a napkin sketch, trusting old plans, or measuring once after demo are how mid-range $30k–$70k remodels burn money on fillers, rework, and delayed counters.
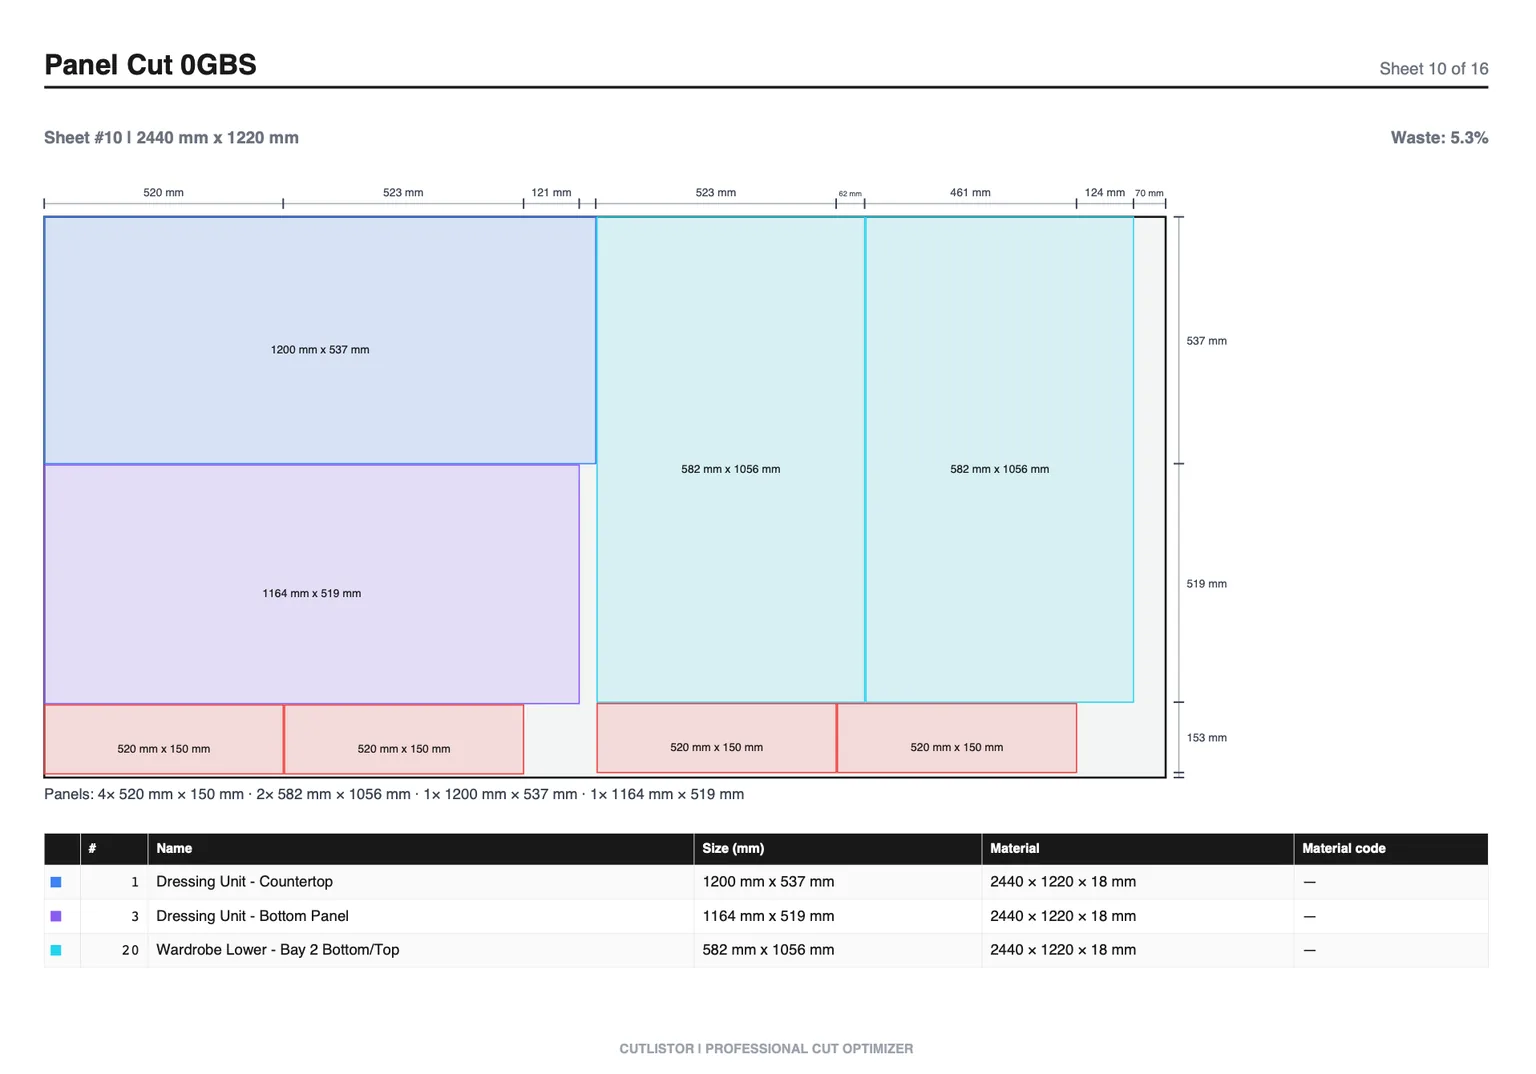
This article is the room survey: walls, openings, utilities, ceiling height, and out-of-square conditions. When you are ready to size boxes, appliances, fillers, and toe kicks, continue with measuring for new kitchen cabinets — that is the cabinet takeoff step.
Tools and ground rules
You do not need a laser scanner for a residential remodel, but you do need consistency. Pick imperial or metric and stay there. Record to the nearest 1/8 in (or 1–2 mm) and note which face of the wall or trim you measured to.
- 25–30 ft / 8–10 m tape (and a second tape for long diagonals)
- Laser distance meter (optional but fast for ceilings and long walls)
- Notebook or tablet with a sketched floor plan
- Level or long straightedge for checking plumb/flat
- Camera or phone for the photo checklist below
- Helper for holding the tape on long runs
Walls and floor plan
| Measure | How | Why it matters |
|---|---|---|
| Wall length (each elevation) | Corner to corner, same height each time | Cabinet run total |
| Overall room L × W | Longest clear dimensions | Island and traffic clearances |
| Diagonals | Corner to opposite corner both ways | Out-of-square flag |
| Door / arch openings | Rough and finish widths + heights | Traffic and tall unit limits |
| Window openings | Rough opening + sill height + trim | Wall cabinet and backsplash |
Openings, soffits, and transitions
Windows, doors, pass-throughs, and bulkheads define where wall cabinets can live. Measure trim-to-trim and also rough openings if trim is coming off. Note which way doors swing and whether casing will change after remodel.
- Window: width, height, sill height from finished floor (or from subfloor + flooring allowance)
- Exterior and interior doors: clear opening and swing
- Soffits / bulkheads: depth, height, and whether they stay
- Beams and chase walls: location and usable clearances
- Flooring thickness plan: cabinets set on finished floor vs subfloor + build-up
Utilities: plumbing, gas, electric, HVAC
| Utility | Record | Cabinet impact |
|---|---|---|
| Sink supply / drain | Centerline from nearest wall; height | Sink base width and plumbing chase |
| Dishwasher circuit / air gap | Location relative to sink | DW opening and adjacent box |
| Range / cooktop gas or electric | Centerline; receptacle / gas stub height | Base run and hood |
| Fridge circuit | Outlet location | Tall unit / panel depth |
| Hood / microwave vent | Duct path; exterior termination | Wall cabinet and hood height |
| HVAC returns / radiators | Size and clearance | Toe kick and base depth |
Ceiling height and tall storage
Measure finished ceiling height in multiple places. Older houses often drop 1/2 in (12 mm) or more across a room. That affects tall pantry height, stacked wall cabinets, and whether you can run cabinets to the ceiling or need a crown/soffit gap.
- Ceiling height at each corner and mid-span
- Existing soffit bottom height (if keeping)
- Crown / light rail clearance preference
- Attic or second-floor constraints above (for venting and stacking)
Out-of-square and out-of-plumb rooms
| Check | Fail signal | Planning response |
|---|---|---|
| Floor diagonals | Diagonals differ > ~1/2 in | Adjust island or run layout; do not force equal boxes |
| Wall plumb | Lean over cabinet height | Scribe end panels / fillers |
| Floor flatness | High/low spots under bases | Shims, leveling, or floor work first |
| Wall bow | Straightedge shows belly | Filler strategy; avoid stressing boxes |
Photo checklist before you leave the room
Photos catch what numbers miss. Shoot with daylight plus lights on so shadows do not hide outlets and valves. Label photos to match your sketch wall names (Wall A, Wall B).
- Each elevation straight-on (full wall)
- Each corner from both directions
- Every window and door with tape in frame for scale
- Under-sink plumbing and shutoffs
- Range, fridge, and dishwasher zones
- Ceiling, soffits, and any beams
- Floor transitions into adjacent rooms
- Electrical panel location if nearby (for circuit planning)
From room survey to cabinet measures and cut lists
When the room survey is done, move to cabinet-specific measuring: appliance clearances, fillers, toe kicks, tall units, and islands. That data becomes elevations — and for custom or shop-built work, a cut list and sheet count.
Cabinets often consume 25–40% of remodel budget. Accurate measures protect that spend whether you buy stock, semi-custom, or custom.