
Article
How to Optimize Plywood for Cabinets
Cutlistor Team3 min read
Introduction
Plywood remains the default for many custom carcasses, painted boxes, and clear-finished interiors. Optimizing plywood for cabinets means matching sheet SKUs, respecting face grain where it shows, and nesting before you buy so quote margin survives veneer prices.
This guide is commercial: fewer full sheets on the PO, cleaner yield numbers for estimators, and cut plans the floor can run without redrawing.
Pick the sheet size that fits the nest
| SKU | Typical cabinet use | Optimization note |
|---|---|---|
| 2440 × 1220 mm (4×8) | Carcasses, painted doors | Default; confirm actual usable after trim |
| 1525 × 1525 mm (5×5) | Baltic birch drawers, jigs | Do not nest as if it were 4×8 |
| 2750 × 1830 mm | Some import plywood packs | Can reduce sheet count on tall gables |
| Thickness grades | 12 / 15 / 18 mm common | Never mix thicknesses on one nest |
Grain strategy for plywood cabinets
Face veneer direction matters on exposed ends, door panels, and open shelving. Lock grain on those parts. Interior shelves and cleats can often rotate, which packs better around awkward door blanks.
Kerf on plywood panel saws and CNC
Enter the kerf for the machine that will cut. A nest that ignores a 3 mm blade will leave parts short after a long rip sequence. Score blades and CNC bit diameter both belong in the number you type.
Worked example: plywood carcass kitchen
| Approach | Sheets | Yield | Cost at $95/sheet |
|---|---|---|---|
| Manual pad (+2 sheets) | 13 | ~69% | $1,235 |
| Optimized nest | 11 | ~80% | $1,045 |
| Savings | 2 sheets | +11 pts | $190 |
Hybrid shops: plywood plus melamine or MDF
Many kitchens mix plywood boxes with melamine interiors or MDF doors. Nest each material on its own stock. Combining them on one layout for convenience produces a useless PO.
Cutlistor workflow for cabinet plywood
Free use is genuinely unmetered where it matters for cutting: change a dimension, re-nest, change it again, at no cost. The 3-per-day allowance covers PDF exports and new projects. Cut lists stop at 20 rows, imported CSV or XLSX files at 5 rows, and there is no persistence between visits.
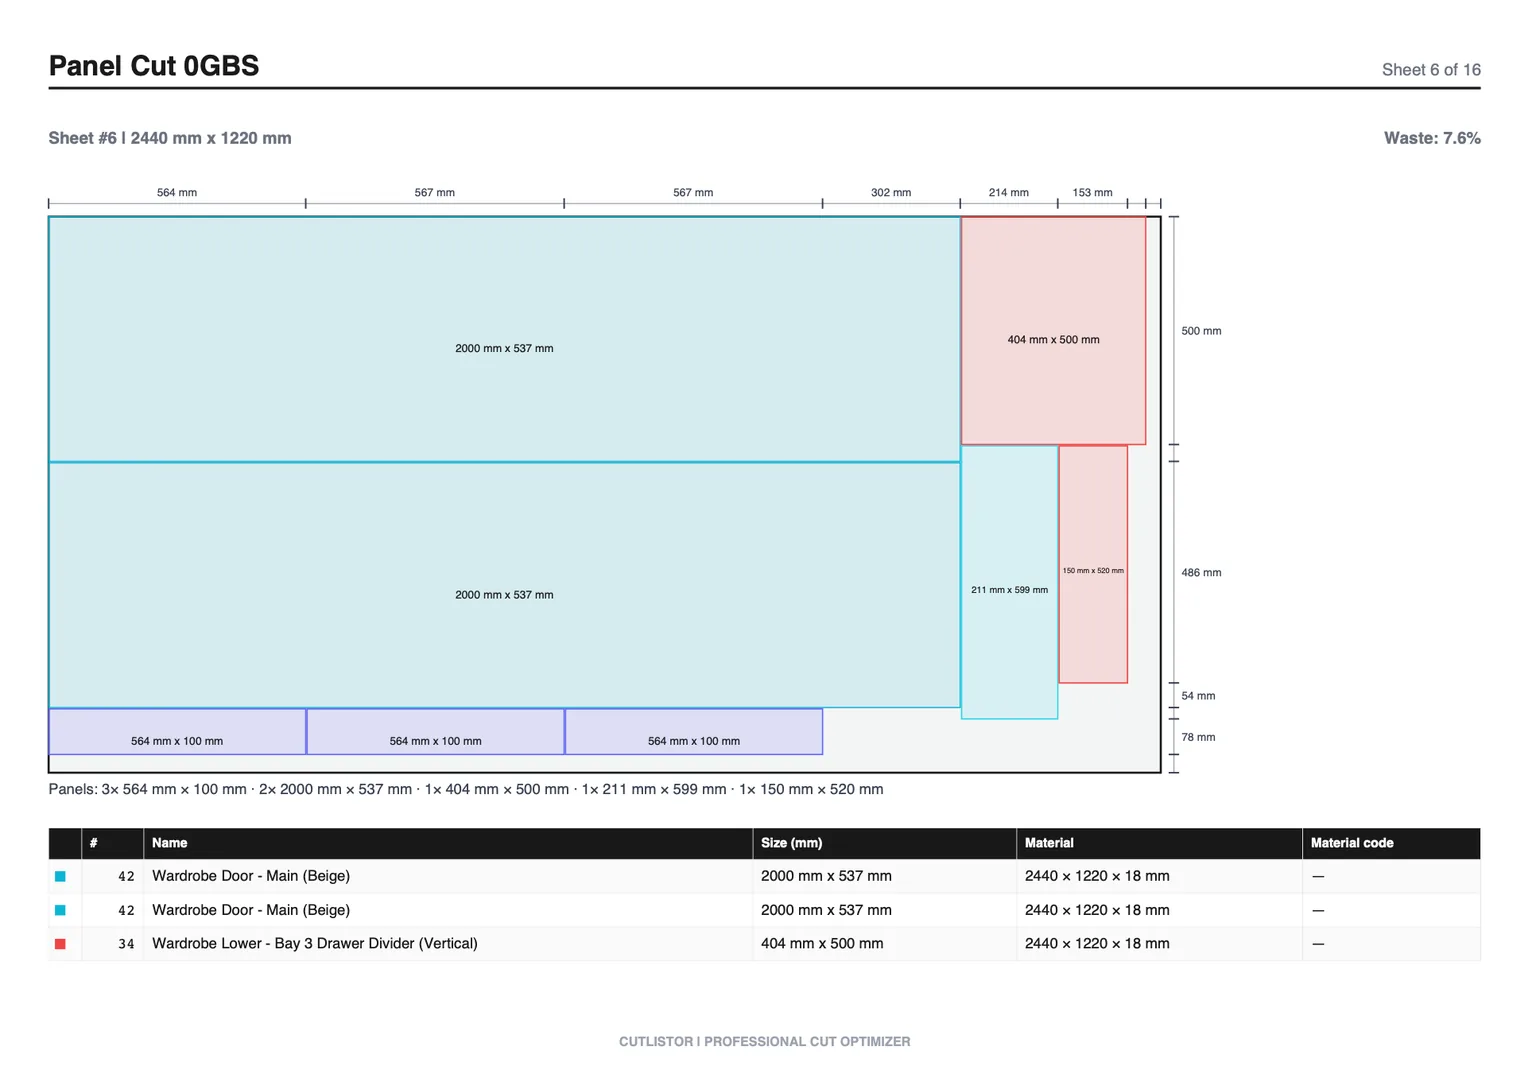
FAQ
Should A-face always face the same way in the nest?
Mark show faces in the BOM and keep them consistent on doors and exposed panels. The optimizer places rectangles; your labels tell the floor which face is out.
Does void quality change nesting?
Core quality affects reject risk, not packing geometry. Buy the grade the job needs, then nest that grade honestly. Do not assume seconds sheets nest the same if sizes differ.
What plywood yield is good for cabinets?
High 70s to low 80s is common when grain is locked on some faces. Compare against your shop baseline. See the cabinet yield article for the formula.
Floor Practice That Protects Yield
Plywood yield rarely collapses in one dramatic mistake. It leaks away through optimistic kerf, grain decided late, and offcuts nobody logs. Settle those three before the first sheet reaches the saw.
Measure the blade you actually run, not the one on the spec sheet. Then mark grain lock on anything visible and leave hidden backs free to rotate — that single distinction often saves a sheet per kitchen.
An optimizer that leaves one large rectangle instead of four ragged strips has done its job — but only if that rectangle gets labelled and racked. Unlogged remnants are slow-motion scrap.
Lock the kerf, grain, and offcut rules into your shop standard so plywood yield stops depending on who is at the saw.
- Kerf from a test cut on the same material family
- Grain lock on doors, gables, and show shelves
- Trim allowances decided before nesting, not at the saw
- Offcut shelf with minimum size rules your shop respects
Conclusion
Optimizing plywood for cabinets is stock truthfulness, grain discipline, measured kerf, and nest-before-buy. Do that and veneer spend stops being a surprise on every kitchen.