Article
How to Prepare Materials Before Cutting (Acclimate, Square, Label)
Cutlistor Team3 min read
Introduction
A perfect nest still fails if the sheet cups overnight, the board twists after rip, or the wrong face gets the show grain. Material prep—acclimating, squaring, and labeling—protects the hours you spent building a cut list.
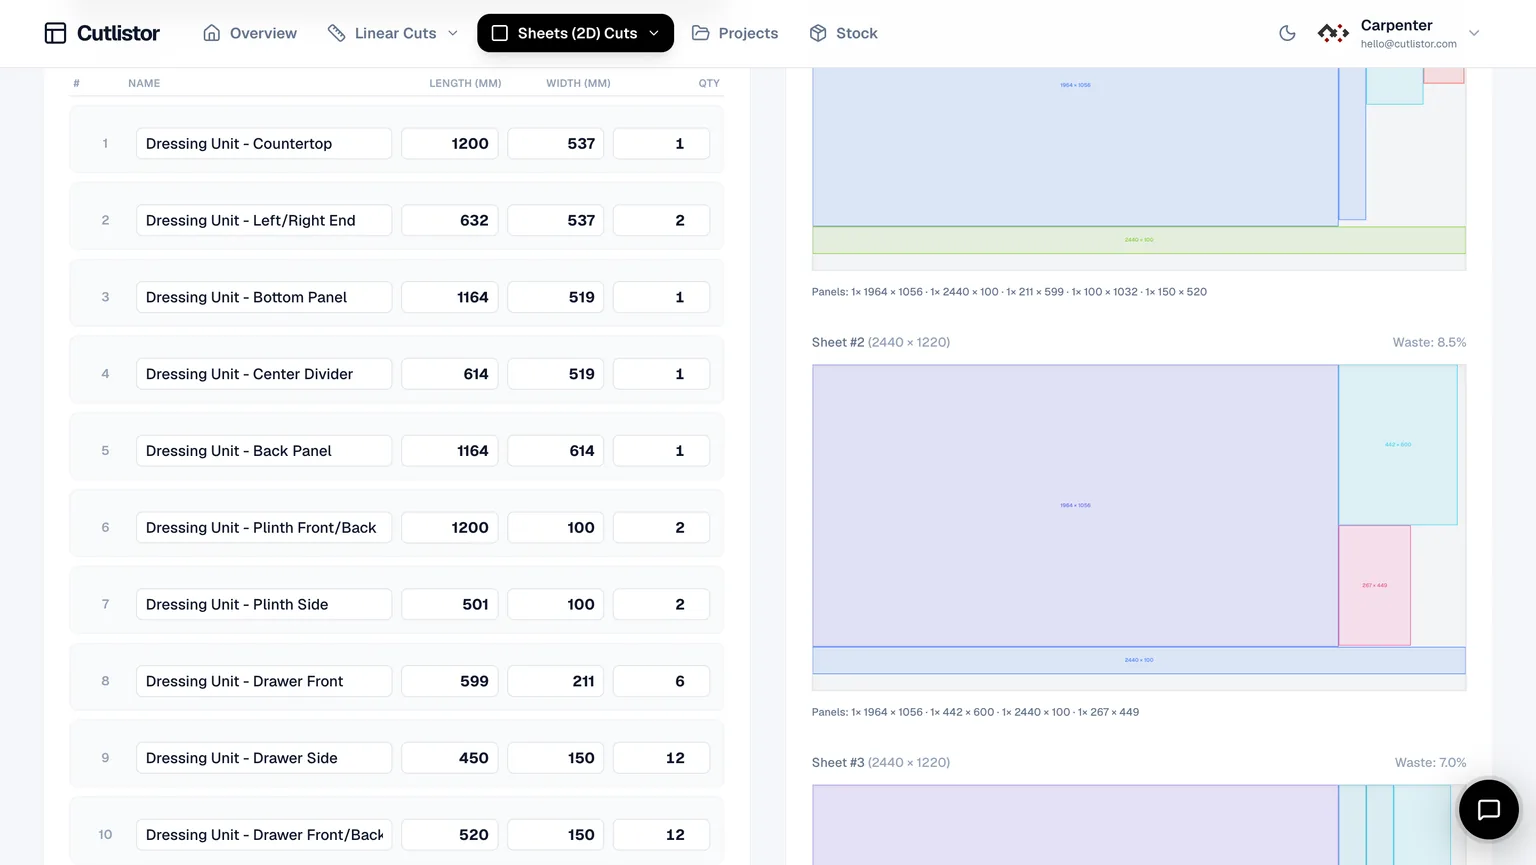
This guide is the shop-floor checklist before the first cut: what to do with plywood and solid wood, how prep interacts with kerf and grain, and how to stage stock so Cutlistor’s PDF labels match what you pull from the rack.
Why prep matters before you nest
| Skip this prep | Typical failure | Cost |
|---|---|---|
| Acclimate sheet goods | Joints open or doors warp | Remake + schedule slip |
| Check thickness | Wrong dado depth / edge band mismatch | Scrap panels |
| Square and flatten lumber | Glue-ups out of plane | Extra milling time |
| Label show faces | Grain runs the wrong way | Visible defect or remake |
| Match kerf to blade | Parts undersize | Whole nest wrong |
Step 1: Acclimate plywood and lumber
Bring sheet goods and solid wood into the shop (or conditioned space) before cutting. Stickers and air gaps matter more than stacking everything against a cold garage wall.
Sheet goods (plywood, MDF, melamine)
Stand sheets on edge with spacers, or sticker flat stacks so both faces see air. Give factory-cold material time to reach shop temperature and humidity—often 24–72 hours depending on climate and thickness. Avoid cutting the day a delivery arrives if the shop is much drier or wetter than the warehouse.
Solid lumber
Check moisture with a meter against your target for the species and region. Rough-mill slightly oversize, sticker again, then final-mill close to cut-list sizes. Do not finalize a linear nest until rough thickness and usable length are known after milling.
Step 2: Inspect, square, and flatten
- Confirm nominal thickness with calipers (18 mm vs 3/4 in is not the same)
- Mark factory edges you will not trust as square
- Rip a clean reference edge on boards before crosscutting lengths
- Reject or quarantine stock that cannot meet show-face quality
- Update the cut list if usable sheet size shrinks after trimming damaged edges
Step 3: Label stock and show faces
Write the material code, job ID, and sheet number on the edge or back. For veneered plywood, mark the show face and grain direction with chalk so the nest’s grain locks match reality.
If you batch multiple projects, use the same job prefixes on stock labels and part labels. See how to batch multiple woodworking projects.
Step 4: Align the cut list with prepared stock
| Input | Source after prep | Where in Cutlistor |
|---|---|---|
| Sheet L × W | Measured usable after trim | Stock rows |
| Board lengths | Usable after rough mill | Linear stock rows |
| Part sizes | Drawing / BOM | Part rows |
| Kerf | Test cut on scrap | Kerf setting |
| Grain locks | Show-face marks | Part constraints |
Step 5: Stage the cut area
Clear infeed and outfeed, set blade height and fence, stage supports for full sheets, and keep the PDF or tablet where the operator can see labels. Have marker and sorting carts ready so parts leave the saw already assigned to a project.
- PDF cut plan open to the current sheet or stick page
- Spare blades or bits that match the kerf you entered
- Push sticks, panel supports, and dust collection ready
- Bins or carts labeled per job
- Remnant rack space for usable offcuts with size written on them
Quick pre-cut checklist
| Check | Done? |
|---|---|
| Material acclimated; moisture OK for lumber | |
| Thickness and species match PO / cut list | |
| Show faces and grain marked | |
| Stock sizes updated after any trim | |
| Kerf matches blade/bit; test cut done | |
| Cut plan PDF is current revision | |
| Part labels prefixed by job if batching | |
| Staging carts / remnant rack ready |
Next steps
Continue with how to cut plywood efficiently or how to plan lumber cuts. For end-to-end planning from drawing to nest, see how to plan a furniture build and the cut planning workflow.