Article
How to Reduce Metal Waste: A Practical Checklist for Fabricators
Cutlistor Team5 min read
Introduction
Metal waste is not only scrap in the bin. It is plate you bought but never invoiced, drops too short to reuse, and remakes from a cut list that ignored kerf. Most waste is predictable before the first cut if the BOM, stock, and nesting inputs are honest.
Software helps, but discipline comes first. This checklist walks through the habits that high-yield fab shops use every day, then shows where Cutlistor sheet and linear optimizers fit in the workflow. Start from our metal fabrication hub if you are building a process from scratch.
Start with an accurate BOM
Every waste reduction program starts with one row per unique finished size. Duplicate rows for identical parts inflate quantities. Missing rows show up as emergency POs mid-job.
- One line per unique width × height (sheet) or length (linear) unless parts are truly identical
- Include quantity multipliers for batch jobs, not repeated manual entries
- Separate material grades and thicknesses into different material groups
- Re-import or edit the BOM after engineering changes before re-nesting
Match stock sizes to supplier SKUs
| Stock type | Common mistake | Fix |
|---|---|---|
| Plate | Using catalog nominal size | Measure actual length and width |
| Sheet coil blanks | Ignoring edge trim | Enter usable nest window after trim |
| Tube and pipe | Single generic length | Offer 6 m and 12 m together in linear tool |
| Angle and channel | Wrong leg orientation | Confirm which leg is reference in BOM |
| Extrusion | Assuming 20 ft when supplier ships 6 m | Use supplier bar length list |
Set kerf before you nest
Kerf compounds across dozens of cuts. A layout at 0 mm kerf will always beat reality on paper and lose on the floor. Measure kerf on a scrap coupon for each process you run: plasma, laser, shear, cold saw, or bandsaw.
- Update kerf when you change blade, nozzle, or bit diameter
- Use process-specific kerf: table shear kerf is not laser kerf
- Apply kerf on linear cuts too, not only on sheet nests
Plan remnant and drop reuse
The optimizer can only reuse drops you tell it exist. Tag usable offcuts in stock inventory on paid Cutlistor plans, or keep a physical rack with labeled sizes.
Sheet remnants
After nesting, save rectangles above your minimum reuse threshold (many shops use 300 × 300 mm or larger). Enter them as stock on the next job before buying full sheets.
Linear drops
Tail lengths from bar, tube, and extrusion add up. Short parts should pack into drops from long cuts before you open a new stick. The linear optimizer shows tail waste per bar so you can sort drops into labeled bins.
Pick the right stock length
Worked example: twenty parts at 2850 mm from 6000 mm bars with 3 mm kerf. One bar yields two parts plus a 291 mm drop. Opening a second bar for the remaining parts leaves larger drops. Adding 12000 mm stock to the same run may reduce stick count if freight allows.
Nest before you buy
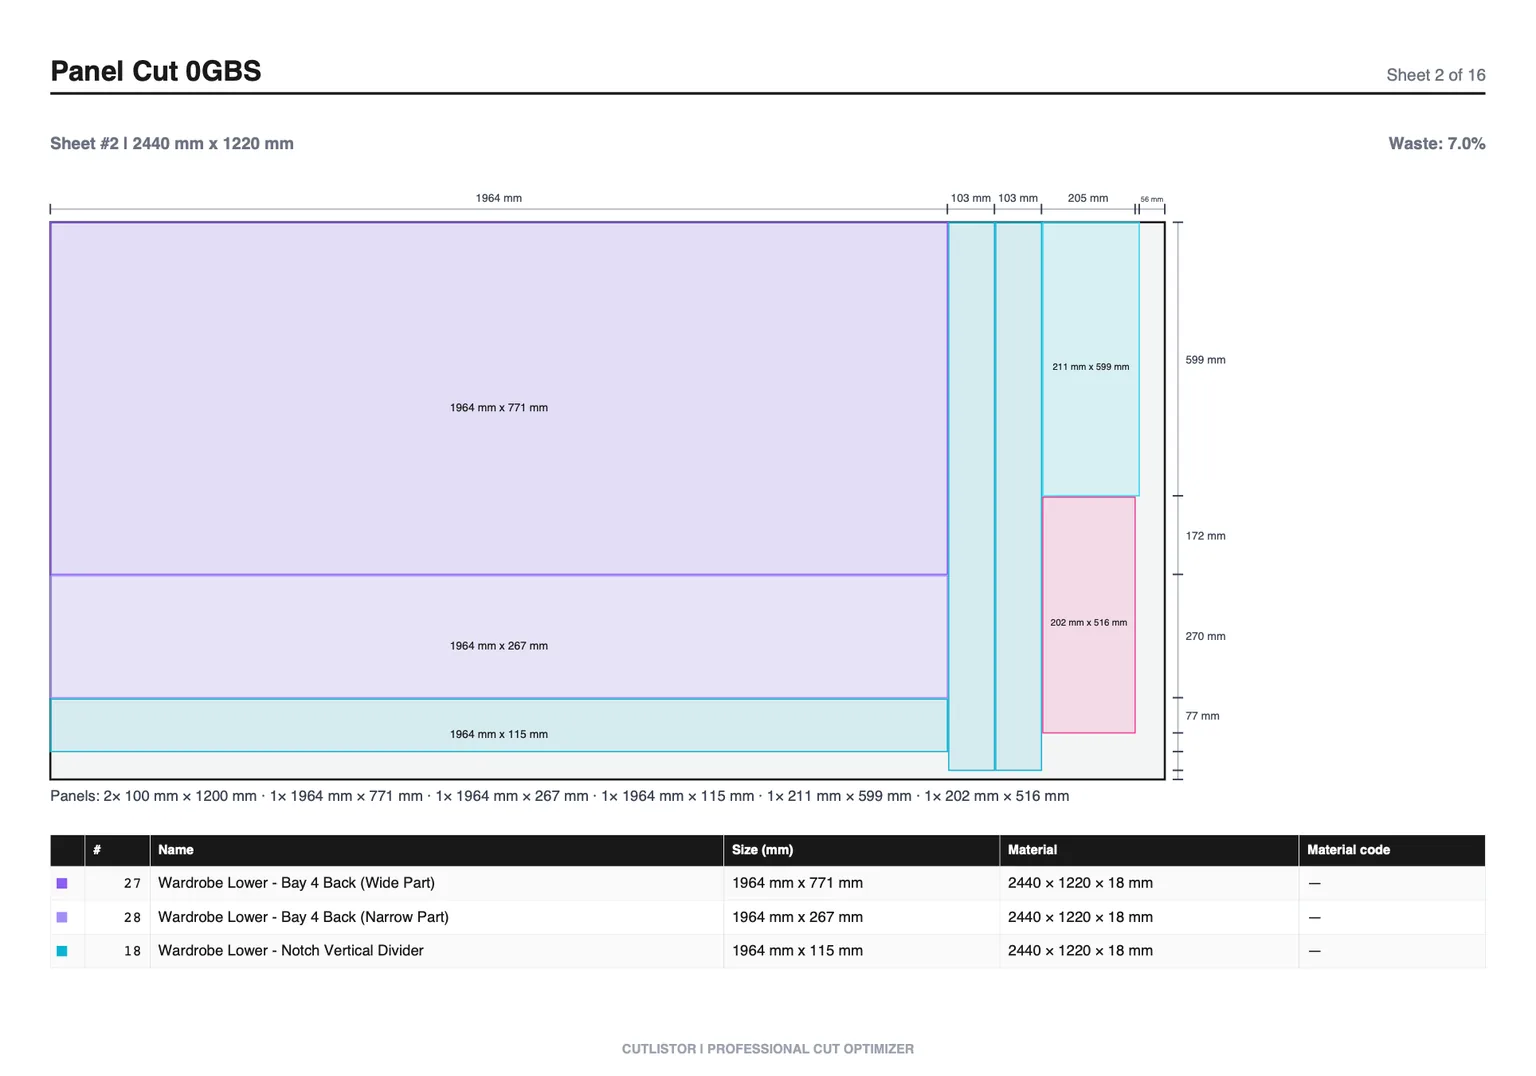
Purchasing from a rough spreadsheet multiplier (length × width × qty) hides yield. Run sheet nesting for plate jobs and linear nesting for tube, angle, and extrusion before you send the PO.
- Sheet jobs: read sheet count and yield from the 2D optimizer
- Linear jobs: read stick count and tail waste from the 1D optimizer
- Mixed jobs: export two PDFs, one per tool, into the same job folder
- Re-nest after any BOM edit; re-optimizing is unlimited on the free tier
Common mistakes that inflate waste
| Mistake | Symptom | Prevention |
|---|---|---|
| Zero kerf nesting | Parts short on assembly | Measured kerf per process |
| Wrong tool (2D vs 1D) | Nonsense stick or sheet count | Sheet vs linear guide |
| Ignoring grain | Rejected brushed faces | Lock grain on sheet layouts |
| Buying before nesting | Extra plate or bar on PO | Nest-before-buy rule |
| Untagged drops | Scrap bin fills, rack empty | Label and re-enter usable offcuts |
| Rectangles for laser parts | Optimistic yield vs CAM | Use rectangular nest for blanks only |
Cutlistor workflow for metal shops
Read the free tier this way: iteration is free, delivery is budgeted. Editing parts and re-optimizing the sheet cost nothing and are unlimited, while PDF export and starting a fresh project draw on 3 per day. The row cap is 20 per list, spreadsheet import is 5 rows per file, and projects are not saved.
- 3 PDF exports per day (editing and re-optimizing unlimited)
- 20 part rows per session
- CSV/XLSX import up to 5 rows
- 3 AI plan scans and 3 3D CAD imports per month on the free tier
- No saved projects until you sign up for a paid plan
- Paid plans: saved projects, stock inventory, DXF export for CNC handoff
Printable shop checklist
Use this before every material PO:
- BOM verified: sizes, quantities, grades separated
- Stock dimensions match supplier or measured incoming material
- Kerf set per cutting process on test scrap
- Grain locked where faces are visible
- Sheet nest run for all plate parts; linear nest for all stick parts
- Usable remnants from prior jobs entered as stock
- Yield and sheet or stick count recorded on the quote
- PDF cut plan exported for the floor (DXF on paid plans when CNC needs it)
Conclusion
Reducing metal waste is mostly accurate data and a nest-before-buy habit. Kerf, stock size, and the right optimizer (sheet vs linear) matter more than chasing the last percent with exotic software on a bad BOM.
Cutlistor gives fabricators free browser tools to test layouts on real jobs, unlimited re-optimization while you edit parts, and a clear upgrade path when you need saved projects, inventory, and DXF export. Build the checklist into estimating and purchasing, and waste stops being a surprise at month end.