Article
How to Plan a Furniture Build: From Drawing to Cut List
Cutlistor Team3 min read
Introduction
Furniture builds fail in the gap between a pretty drawing and the first saw cut. Planning means locking sizes, choosing materials, building a cut list, nesting sheet and solid stock, and staging the shop—before glue and finish.
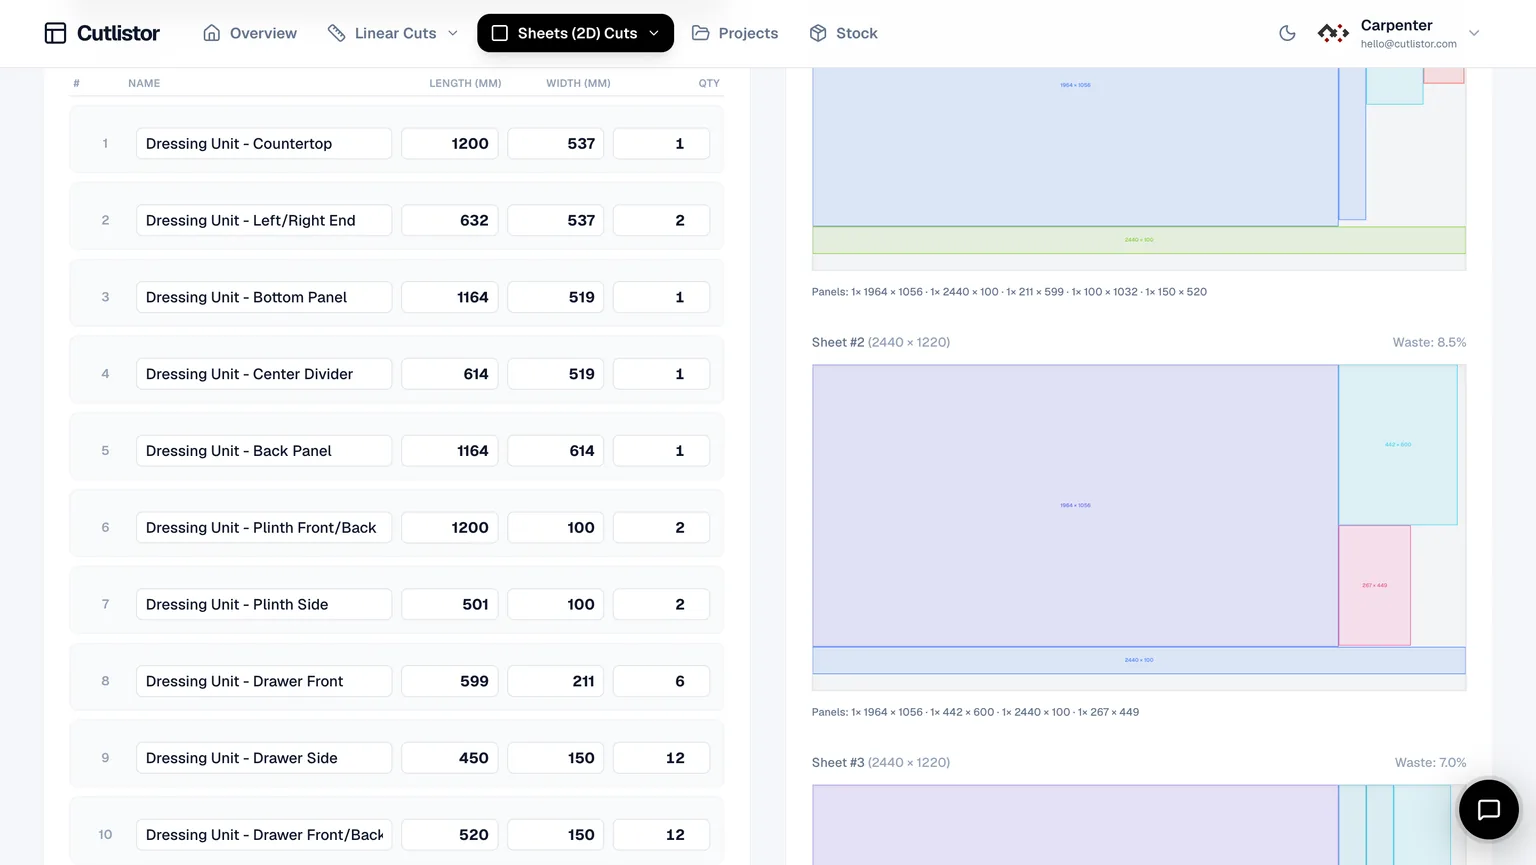
This walkthrough is for custom furniture makers and serious hobbyists who mix plywood carcasses with solid lumber. Cutlistor handles the cut-list and nesting step in the browser; design still happens in your CAD or on paper.
Step 1: Lock the design and finished sizes
Freeze overall dimensions, joinery type, and show faces. Note whether sizes are finished (after edge banding / sanding) or blank sizes for the saw. A change after nesting wastes the layout—and sometimes the sheet.
- Overall L × W × H and critical clearances
- Door / drawer reveals
- Joinery allowances (tenons, dominos, dados)
- Finish schedule that affects thickness (veneer, paint build)
Step 2: Choose materials and draft the BOM
| Group | Examples | Optimization |
|---|---|---|
| Sheet carcass | Plywood sides, shelves, backs | 2D sheet nesting |
| Show panels | Veneered doors, desk tops | Sheet nest + grain locks |
| Solid structure | Legs, aprons, stretchers | 1D linear optimization |
| Trim / edging | Solid edge banding stock | Linear, then mill |
| Hardware | Slides, hinges | Not nested—buy list only |
Step 3: Build the cut list
Create rows for every cut part: label, sizes, quantity, material, grain. Import from CSV/XLSX if the BOM is already in a spreadsheet, or from PDF/3D if you are taking off a drawing or model.
Step 4: Optimize sheet and lumber
Run the sheet optimizer for panels and the linear optimizer for boards. Set kerf from a test cut. Lock grain on show parts. Re-optimize as you tweak sizes—Cutlistor updates layouts in real time.
Step 5: Buy stock and prepare materials
Purchase from the optimized sheet and stick counts—not from square-footage guesses alone. Acclimate, inspect, square, and label before cutting. See the material prep guide.
Step 6: Cut from the PDF, then assemble
Export a PDF cut plan (DXF on paid plans for CNC). Cut, label, sort, mill joinery, dry-fit, glue, and finish. If you are running several commissions, batch shared materials—see the batching guides.
Furniture planning checklist
| Gate | Pass criteria |
|---|---|
| Design freeze | Client/sign-off or personal go; revision dated |
| BOM complete | All cut parts listed; hardware separate |
| Nest approved | Sheet + linear counts match budget |
| Kerf verified | Test cut matches optimizer setting |
| Materials prepped | Acclimated, labeled, defects culled |
| Cut plan current | PDF matches BOM revision |
Batch Thinking for Furniture Builds
Furniture benefits from the same batching habit as cabinets: identical parts across pieces get one nest, not five partial lists. If you are building a set of chairs or nightstands, merge the cut list before you buy sheets.
Decide finish strategy before you nest. Parts that need grain match across a face should be nested from the same sheet region; parts that will be painted can rotate freely and usually save stock.
Leave a buffer in the schedule for milling defects and glue-up trim. A perfect nest that assumes every blank is pristine will still lose a part to tear-out—have a plan for the replacement blank without reopening the whole project.
- Merged lists for multi-piece sets
- Grain-match parts flagged before nesting
- Paint-grade parts free to rotate
- Replacement blank plan for critical show parts
Next steps
For software fit, read cut list software for furniture makers and the 2026 optimizer roundup. For economics, see how much a cut list optimizer can save and the true cost of wood waste.