Article
How to Measure for New Kitchen Cabinets: Openings, Fillers & Appliances
Cutlistor Team4 min read
Introduction
Measuring for new kitchen cabinets is not the same as measuring the room for paint. You need wall-to-wall openings per elevation, appliance clearances, filler allowances, toe-kick height, tall-unit limits, and island clearances — then you convert that into box widths a factory or shop can build.
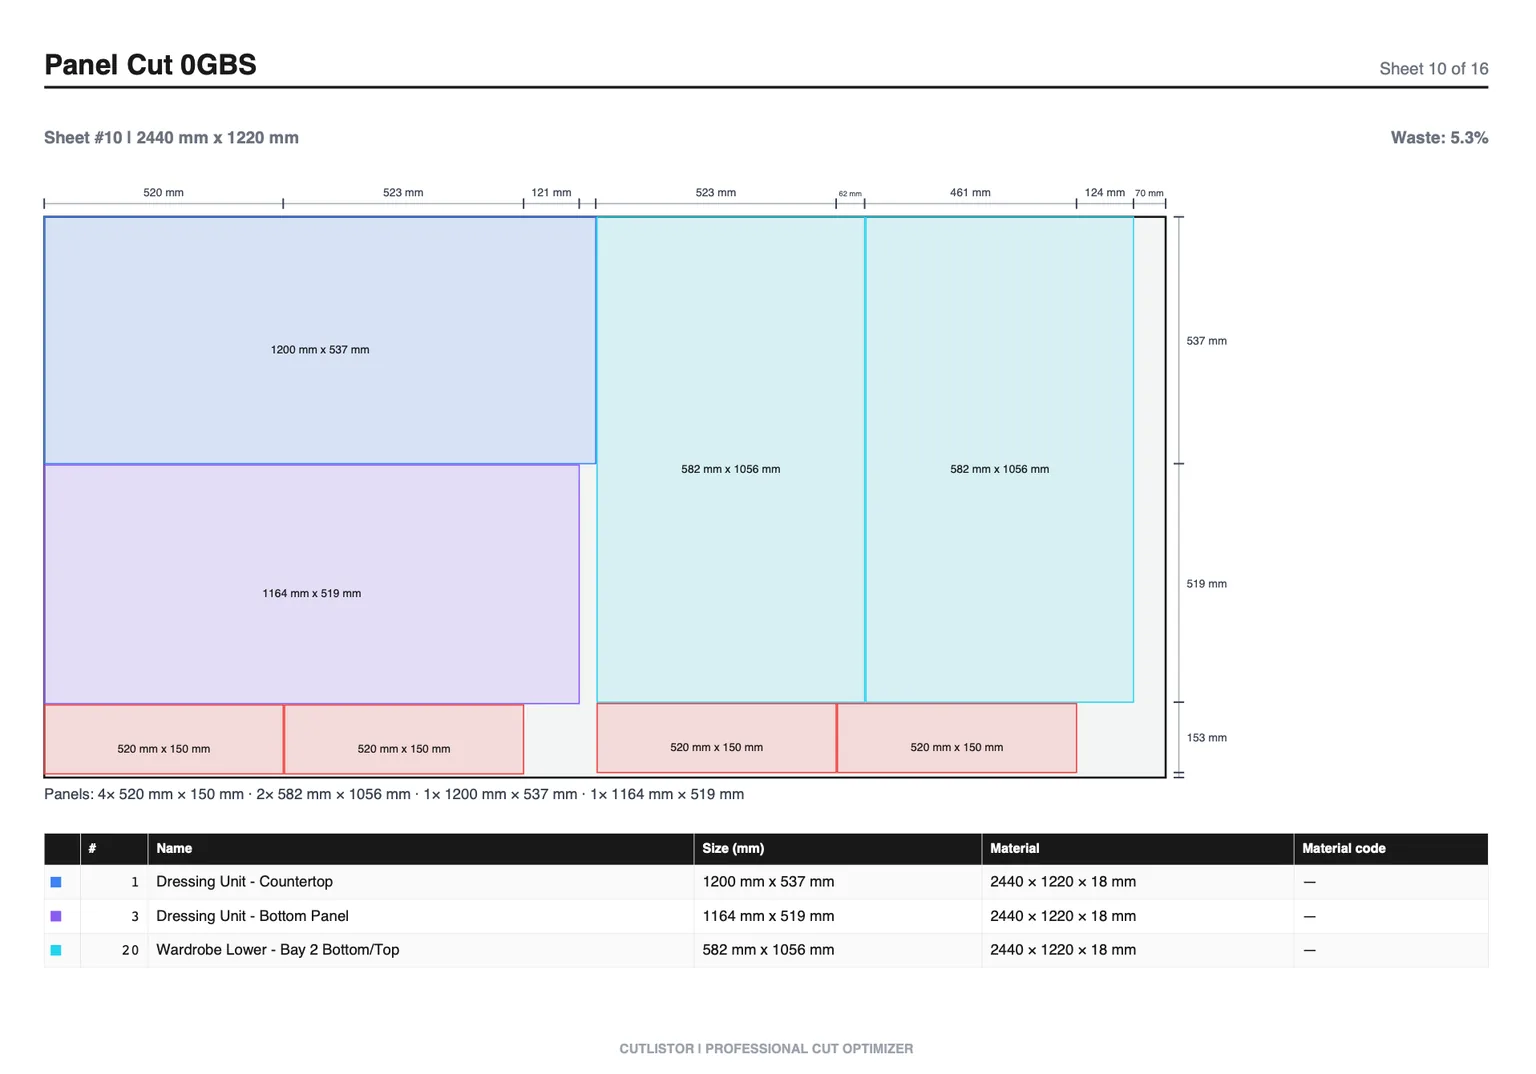
Do the whole-room survey first if you have not already. This article is the cabinet takeoff: how field numbers become elevations, and for custom or shop-built work, how they become a cut list and sheet order.
Measure each elevation opening
| Elevation data | Typical note | Used for |
|---|---|---|
| Wall-to-wall base run | At ~36 in / finished floor ref | Base cabinet + filler math |
| Wall-to-wall upper run | Below soffit / to ceiling | Wall cabinet layout |
| Obstruction widths | Windows, doors, returns | Gaps in the run |
| End conditions | Open end vs wall vs appliance | End panels / finished ends |
Appliance clearances and openings
| Appliance | What to capture | Common planning pitfall |
|---|---|---|
| Dishwasher | Width, height, depth, door swing / panel | Too-tight opening; no filler for out-of-square |
| Range / cooktop | Freestanding vs slide-in; counter overhang rules | Wrong reveal at counter ends |
| Refrigerator | Width, depth with doors, hinge side, panel kit | Tall cabinet too shallow for counter-depth myth |
| Wall oven / microwave | Rough opening; vent needs | Box opening ≠ appliance trim size |
| Hood | CFM / duct; mounting height above cooktop | Wall cabinets collide with hood width |
Fillers: the measurement that saves the install
Fillers absorb out-of-square walls and give doors/drawers clearance at walls and inside corners. Do not consume the entire wall length with catalog boxes and hope. Hold filler stock in the layout, then trim on site.
- Wall ends: often plan ~1-1/2–3 in (38–76 mm) fillers, then scribe
- Inside corners: watch door and drawer clearances; blind corners need extra thought
- Appliance sides: some codes/install guides want specific gaps
- Measure final filler after boxes are set when walls are bad — but budget the material now
Toe kicks, counter height, and wall cabinet height
| Dimension | Common target* | Confirm |
|---|---|---|
| Finished counter height | ~36 in (915 mm) | Client preference / ADA |
| Toe kick height / depth | ~4 in H × ~3 in D | Flooring build-up |
| Wall cabinet bottom above counter | ~18 in (457 mm) | Tile, outlets, window |
| Wall cabinet height | 12–42 in boxes common | Ceiling / soffit |
| Tall pantry / oven stack | To ceiling or set gap | Fridge and oven models |
*Common North American residential targets — not code for every project. Face-frame vs frameless and metric systems differ; freeze your shop standard.
Tall units and islands
Tall units need ceiling height, plumb walls, and appliance cutouts measured twice. Islands need walkway clearances on all working sides — typically aim for about 42–48 in (1060–1220 mm) in a working kitchen; tighter galley spaces need honest traffic decisions.
- Tall pantry: width, depth, height; door swing vs adjacent walls
- Fridge surround: clear opening, panel thickness, ventilation gaps per manufacturer
- Oven tower: stacked openings from the install guide, not from memory
- Island: overall L × W, overhangs for seating, electrical/plumbing stubs, seating knee space
- Peninsula: same as island plus wall attachment and traffic past the end
Worked example: turning a wall into box widths
| Unit | Width (in) | Notes |
|---|---|---|
| Left filler | 2 | Scribe to wall |
| Drawer base | 24 | |
| Dishwasher | 24 | Appliance opening |
| Sink base | 36 | Centered on window |
| Door base | 30 | |
| Door base | 24 | |
| Right filler | 2 | 142 total check |
Adjust if diagonals showed the wall is short on one end — steal from fillers, not from the dishwasher opening. Then repeat for wall cabinets above, subtracting the window.
How measures become a cut list for custom work
Stock and semi-custom factories convert your elevations into their SKUs. Custom and shop-built kitchens convert each box into parts: gables, bottoms, tops/stretchers, backs, shelves, doors, drawer parts, fillers, and panels. Those parts become rows on a cut list, nested by material, then purchased as sheets.
Workflow: locked elevations → part list per box → nest (kerf + grain) → sheet count → cut/label/assemble. Skipping the nest is how a “materials-only” budget quietly gains an extra sheet of plywood at $70–$140+ in many 2026 markets.
FAQ
Should I measure before or after demo? Measure before for design and ordering lead times; verify critical dimensions after rough-in and flooring decisions. Never cut custom boxes from a single pre-demo tape pull if walls are moving.
Who should take final measurements — homeowner or installer? For stock/RTA, follow the seller’s measure policy. For custom, the builder or cabinet shop that owns the fit usually takes responsibility for final field measure.
Can I use phone LiDAR? Useful for layout visualization; still verify critical openings with a tape or laser before ordering.
What if my numbers do not match the designer’s drawings? Stop and reconcile before production. Drawings lose to field measure when walls are real.
Next steps
Finish the room survey, lock appliance models, complete elevation math with fillers, then choose stock vs custom. If you are shop-building, move straight into a nested cabinet cut list before buying sheet goods.