
Article
How to Optimize Multiple Woodworking Projects Together
Cutlistor Team3 min read
Introduction
Optimizing multiple woodworking projects together means one nest (or one linear pack) that includes parts from more than one job—on purpose. It is the optimization half of batching: not only cutting on the same day, but solving the packing problem across job boundaries.
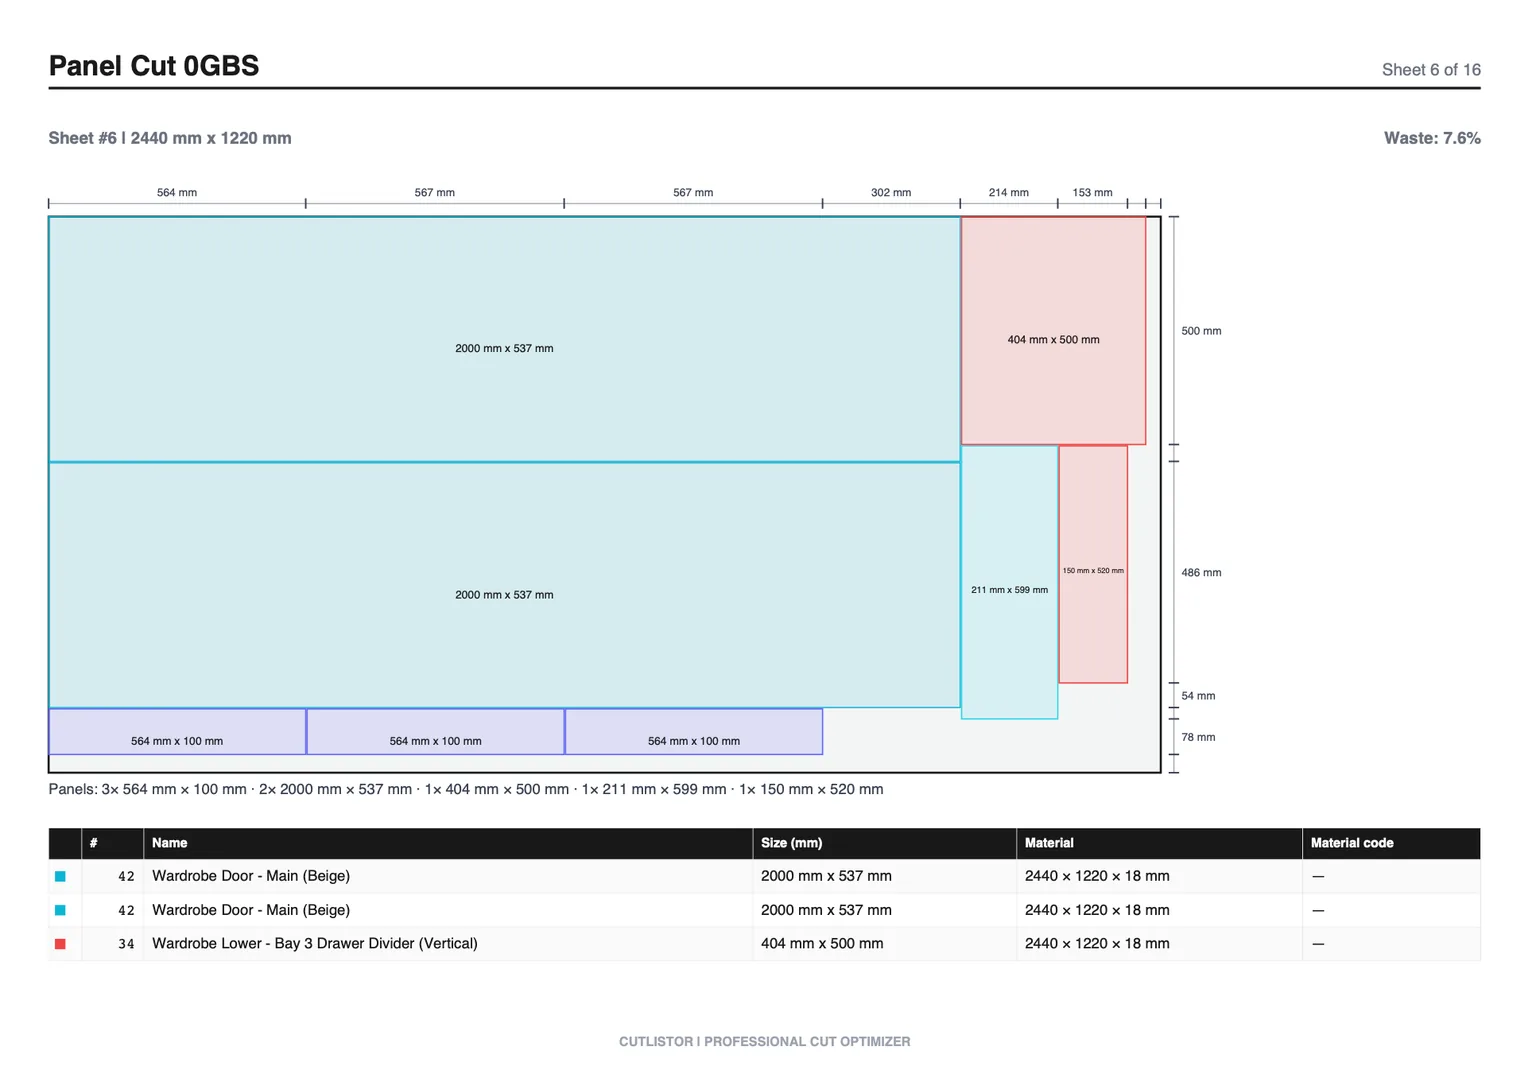
This guide focuses on data setup, constraints, and Cutlistor techniques. For shop staging and labeling discipline, pair it with how to batch multiple woodworking projects.
Goals of multi-project optimization
Separate nests leave usable rectangles stranded on Job A while Job B opens a fresh sheet for a small panel. Combined optimization treats the week’s birch (or melamine, or MDF) as one stock pool. The material math improves; the operational risk is mixing identities and due dates.
Aim for higher yield and fewer opened sheets without losing the ability to sort, deliver, and invoice each commission cleanly.
- Fill remnant regions with parts from a second job
- Reduce total sheets or sticks purchased this week
- Share machine setups across commissions
- Keep identity: every part still belongs to one project
Worked example: two furniture jobs, one birch nest
Job A (desk): 4 sides 720×560 mm, 2 tops 1400×700 mm, grain locked on tops. Job B (bookshelf): 2 gables 1800×300 mm, 10 shelves 900×290 mm, grain free on shelves. Both use 18 mm Baltic birch on 1525×1525 mm (5×5) sheets with 3.2 mm kerf.
Nests run alone might open 4 sheets for A and 3 for B (7 total) because each job’s remnants cannot host the other job’s parts. Combined with project-prefixed labels, the same parts often land on 5–6 sheets depending on grain locks—saving one to two sheets of premium birch before you count labor.
Label every part A- or B- in the name column so the PDF cut plan sorts on the floor. Stage two carts after the saw: desk stack and bookshelf stack. Do not skip staging just because the nest is shared.
Step 1: One material file, many project labels
| Field | Purpose |
|---|---|
| project | Sort after cutting; filter views |
| name (prefixed) | Floor readability on PDF |
| length / width / qty | Nest geometry |
| grain | Per-part constraint across jobs |
| material | Must match stock SKU for the run |
Step 2: Apply constraints per part, not per job
Job A may allow rotation on utility panels; Job B may lock every show face. Set grain per row. Use the strictest kerf that matches today’s blade for the whole nest—do not mix kerf assumptions on one sheet run.
Step 3: Run sheet and linear multi-job packs
The distinction that matters on the free plan is between reworking a layout and shipping one. Rework is unlimited. Shipping — a PDF export, or opening a new project — comes out of 3 per day. Alongside that sit a 20-row list cap, a 5-row limit per CSV or XLSX import, and no saved state.
What not to merge
Do not merge different thicknesses, incompatible finishes that contaminate dust, or due dates that force you to hold finished parts for weeks in a tiny shop. Do not unlock grain on a show desk top to fit a crate cleat.
Step 4: Re-optimize when one job changes
Multi-job nests are sensitive to late changes. When Job B drops two shelves, remove those rows and let Cutlistor re-optimize immediately. Re-export the PDF and discard the old print. Revision discipline matters more when three clients share a sheet.
Measure the win
Compare total sheets for separate nests vs the combined nest. Add labor for sorting—if sorting exceeds material save, your labels or staging need work, not more algorithm. See savings examples and true waste cost.
Next steps
Small shops and furniture makers should match tooling to volume—see those software guides. For CNC-heavy shops, also read the CNC optimizer roundup.