
Article
How to Batch Multiple Woodworking Projects (Cut Lists & Nesting)
Cutlistor Team4 min read
Introduction
Batching multiple woodworking projects means cutting shared sheet and lumber stock for more than one job in a single saw session. Instead of ripping one bookshelf, then a nightstand, then a vanity from separate sheets, you combine part lists, nest once, and pull labeled parts into each assembly pile.
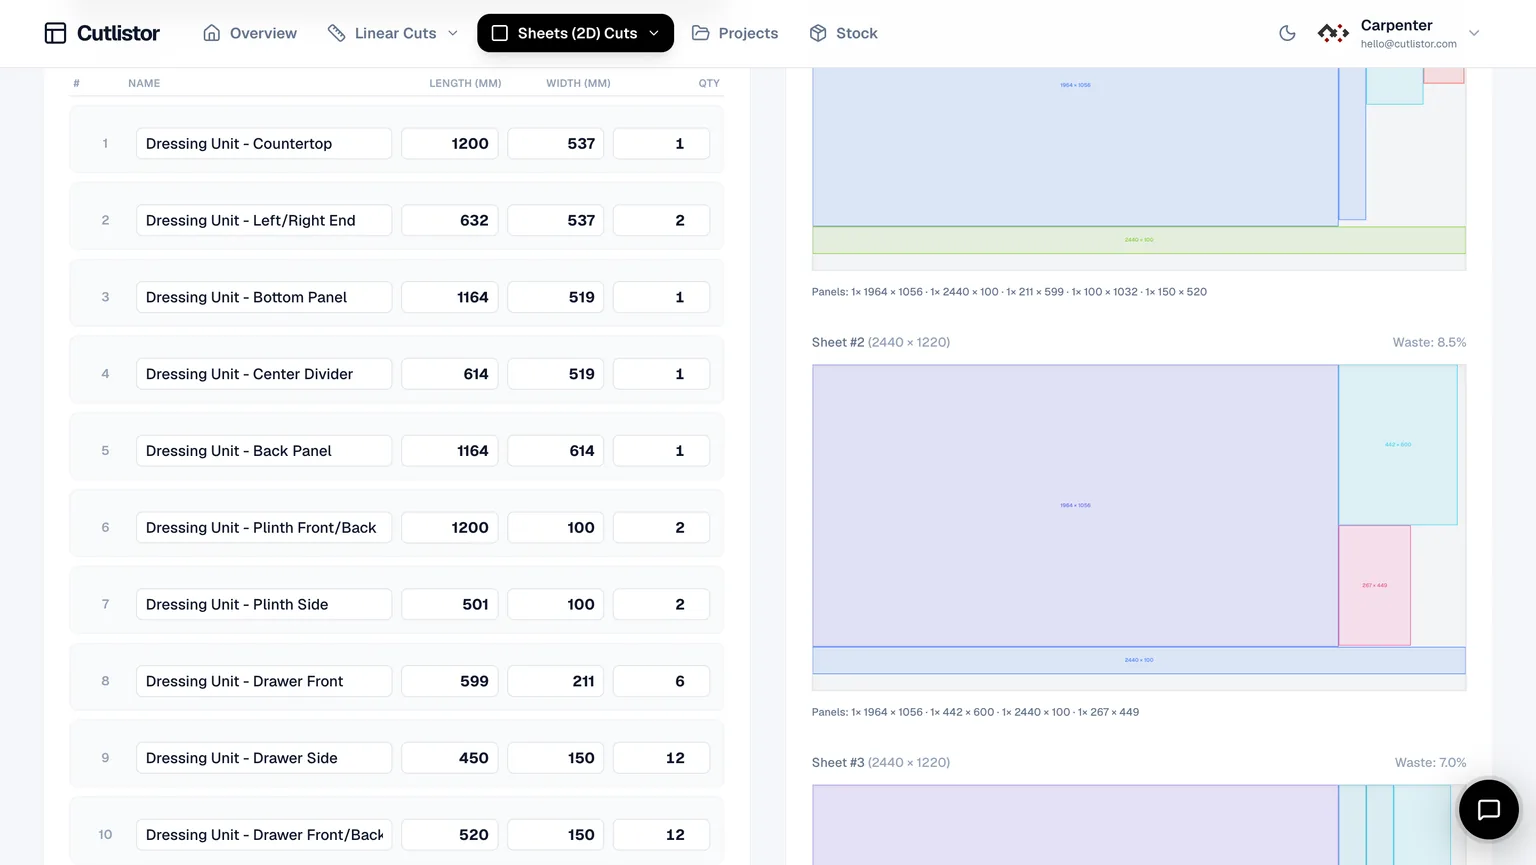
Done well, batching raises yield, reduces machine setups, and shortens trips to the sheet goods rack. Done poorly, parts get mixed up and grain direction fails on the wrong project. This guide covers when to batch, how to structure cut lists, and how Cutlistor helps you nest sheet and linear stock across jobs.
When batching pays off
| Situation | Batch? | Why |
|---|---|---|
| Two cabinets, same 18 mm birch | Yes | Shared sheet SKU; easy labeling |
| Plywood carcass + solid face frames | Partial | Nest sheets together; run lumber separately |
| Custom walnut desk + painted pine crate | No | Different species and finish |
| Three small jigs from scrap plywood | Yes | Fills remnants; low mix-up risk |
| Rush job due tomorrow + long-lead vanity | Careful | Only batch if rush parts stay labeled and staged first |
Step 1: Group parts by stock, not by project
For each part row, keep columns that survive import and shop labeling:
- Part name or ID
- Length × width (sheet) or length (linear)
- Quantity
- Material / thickness code
- Project code (JOB-A, JOB-B)
- Grain lock if the face shows
- Notes (edge banding, groove face, CNC vs table saw)
Step 2: Prefix labels so parts never mix
When three jobs share a nest, a panel labeled SIDE becomes ambiguous. Prefix every label with a short job code: A-SIDE-L, B-SHELF-2, C-DOOR-RH. The same prefix should appear on the cut plan PDF, the assembly cart, and the packing list.
Optional color or bin coding
Some shops add a marker color per job on the cut edge after sawing. Others stage parts into labeled bins immediately after the cut. The optimizer does not replace staging discipline—it only gives you a clean map.
Step 3: Nest sheets and optimize lumber separately
| Stock type | Optimizer | Batch tip |
|---|---|---|
| Plywood / MDF / melamine | Sheet cut list optimizer | Combine same thickness and SKU across jobs |
| Hardwood boards | Linear cut list optimizer | Combine rip lengths that share rough thickness |
| Trim / moulding | Linear optimizer | Batch by profile; keep finish grade notes |
| Solid door rails & stiles | Linear, then mill | Allow overlength for joinery before final trim |
Step 4: Set kerf and grain once for the batch
Use the blade or bit kerf you will actually cut with today. If job A allows rotation and job B locks grain on show faces, mark grain locks on those rows only—do not unlock everything to chase a slightly higher yield.
Re-optimize in real time as you drop or add parts from a late change order. Cutlistor refreshes the layout as you edit; you do not need a separate Calculate click for every tweak.
Step 5: Export PDFs, cut, then sort by project
A practical shop sequence for a two-job plywood batch:
- Print or tablet the sheet nest PDF with job-prefixed labels
- Break down sheets; write labels on each part as it leaves the saw
- Sort into JOB-A and JOB-B carts
- Run linear lumber for face frames in a second session if needed
- Return usable remnants to labeled scrap with size and species
Free use is genuinely unmetered where it matters for cutting: change a dimension, re-nest, change it again, at no cost. The 3-per-day allowance covers PDF exports and new projects. Cut lists stop at 20 rows, imported CSV or XLSX files at 5 rows, and there is no persistence between visits.
Common batching mistakes
Most batching failures are process, not nesting math.
- Mixing thicknesses on one nest because the labels looked similar
- Forgetting grain locks on show panels when chasing yield
- Cutting without job prefixes, then spending an hour sorting
- Batching a rush job with a slow job and shipping neither on time
- Ignoring remnant value—see the true cost of wood waste
Next steps
If you are new to structured lists, start with how to make a cut list, then how to use a cut list optimizer. For multi-job nesting tactics, continue to optimize multiple woodworking projects. Cabinet-focused shops may also like our cabinet maker calculator roundup.