Article
How to Plan a Kitchen Cabinet Run
Cutlistor Team4 min read
Introduction
A kitchen cabinet run is the full set of base, wall, tall, and specialty units that fill a kitchen's elevations. Planning the run means fitting boxes and fillers into wall-to-wall dimensions, then producing a nested material plan the shop can cut and the installer can set.
Homeowner renovation guides talk style and cost. This article talks shop: openings, appliance gaps, fillers, batched cut lists, and sheet purchasing for professional casework.
Step 1: Measure the Run, Not Just the Room
Record each elevation: wall length, ceiling height, window and door interruptions, plumbing and electrical zones, and flooring thickness if cabinets set after finish floors. Note out-of-square corners; they drive filler and scribe strategy.
- Wall-to-wall lengths per elevation
- Appliance model widths and clearances
- Sink and cooktop centerlines
- Hood and tall-pantry heights
- Soffits, bulkheads, and beam drops
Step 2: Lay Out Boxes, Appliances, and Fillers
| Elevation element | Planning tip |
|---|---|
| Dishwasher gap | Keep manufacturer clearances; often 600 mm / 24 in nominal |
| Range / cooktop | Confirm freestanding vs slide-in reveal |
| Fridge panel / tall unit | Match fridge height and hinge side |
| Corner base | Blind corner or lazy Susan; watch door clearances |
| End fillers / panels | Budget width before freezing box sizes |
Worked Example: 3600 mm Base Elevation
| Unit | Width | Notes |
|---|---|---|
| Filler at left wall | 50 mm | Trim on site |
| Base cabinet | 600 mm | Drawer bank |
| Dishwasher opening | 600 mm | Appliance |
| Sink base | 900 mm | |
| Base cabinet | 800 mm | |
| Base cabinet | 600 mm | |
| Filler at right wall | 50 mm | 3600 - sum check |
Sum check: 50+600+600+900+800+600+50 = 3600 mm. If the wall measures 3610 mm after flooring, grow fillers, do not stretch every box. If the wall is 3585 mm, shrink fillers or one adjustable box.
Step 3: Freeze Construction Standards for the Whole Kitchen
One kitchen, one rule set: frameless or face frame, panel thickness, overlay style, toe kick height, back method, and hinge/slide brands. Mixed standards create door-size errors across the run.
Step 4: Build a Master Cut List and Batch Nest
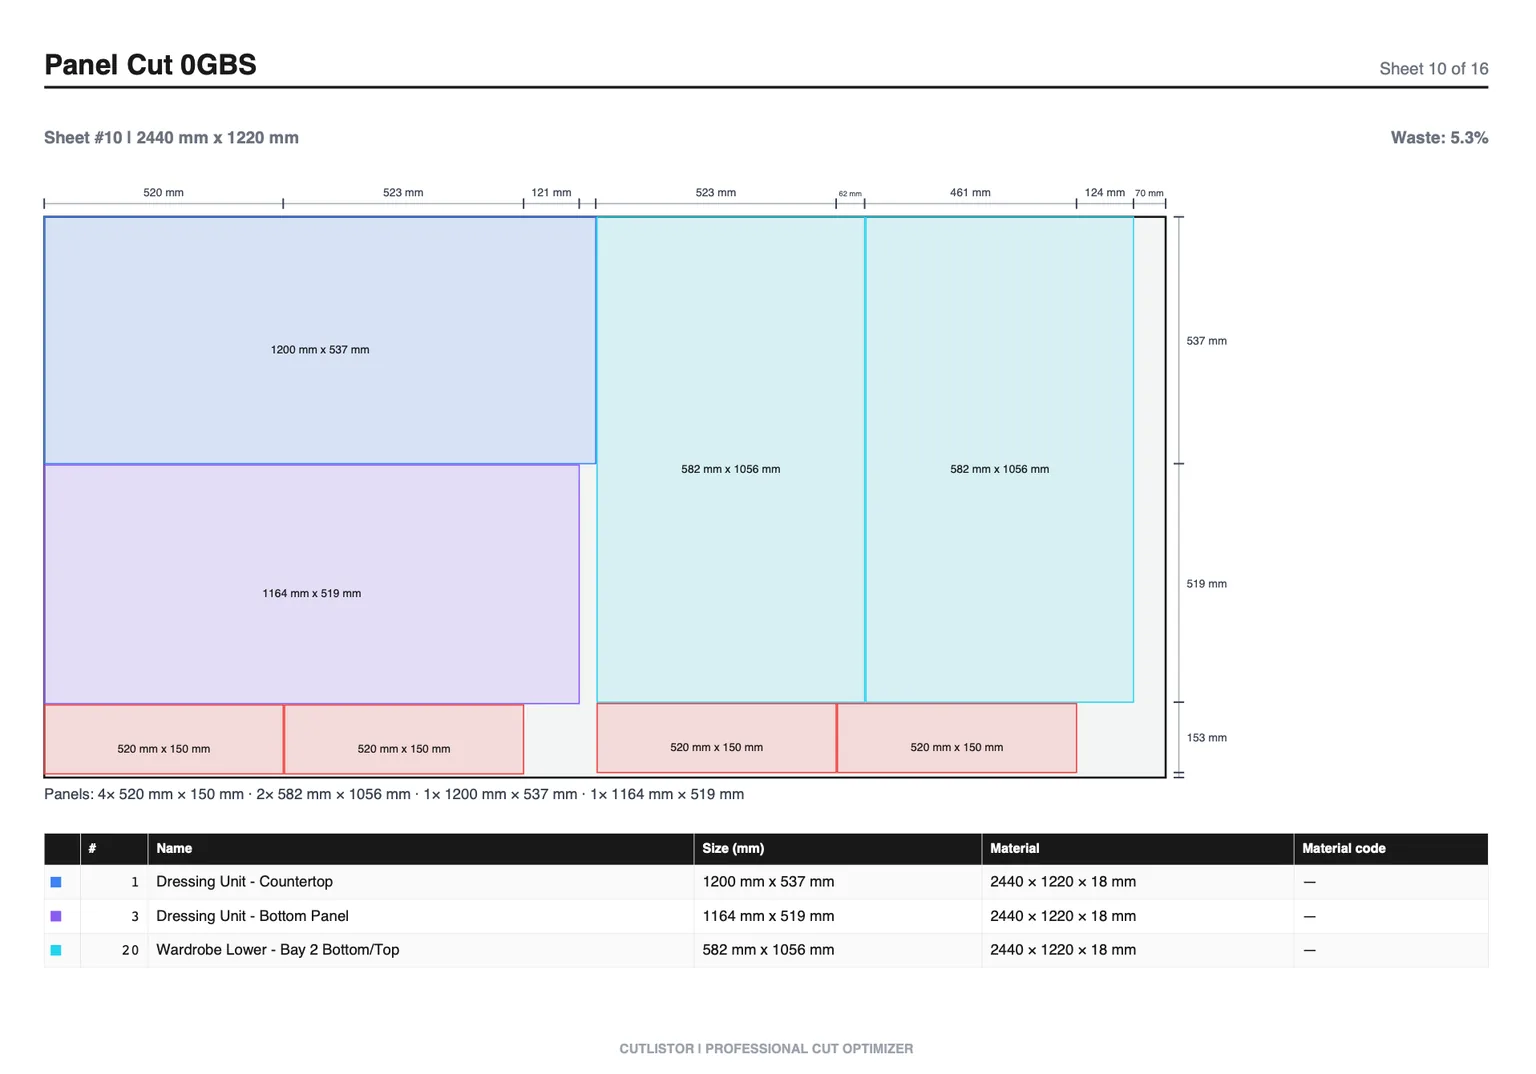
Generate parts for every box, door, drawer, filler blank, and end panel. Batch by SKU across the kitchen. Nest 18 mm case stock once, backs once, door blanks once. Use cabinet IDs that match the elevation drawings.
The free tier's limits sit around the edges of the work rather than in the middle of it. Editing and re-optimizing are unlimited; PDF exports and new projects share a daily budget of 3. A single session carries up to 20 part rows, each CSV or XLSX import up to 5 rows, and nothing is stored after you close it.
Step 5: Sheet PO, Hardware PO, and Lead Times
| PO item | Source |
|---|---|
| Melamine / plywood sheets | Sheet optimizer count by SKU |
| Back stock | Separate nest |
| Edge banding | Perimeter estimate + waste |
| Face-frame lumber | Linear optimizer |
| Hinges / slides | Door and drawer counts |
Step 6: Produce and Install in Run Order
Cut and label by material, assemble by cabinet ID, hang doors in elevation order when grain matching matters, then install from a corner or tall unit outward. Keep filler blanks with the elevation until field trim.
FAQ
Should every box be a standard width?
Standards speed production, but walls rarely match catalogs. Use standard widths where they fit and absorb remainder in fillers or one custom box per elevation.
Do wall cabinets follow the same nesting rules?
Yes for sheet nesting. Heights, depths, and door sizes differ. Keep wall and base parts labeled clearly when they share melamine stock.
Can I pull the run from SketchUp or Rhino?
Yes. Extract part sizes from the model, then nest in Cutlistor. See the SketchUp and Rhino cut list guides. PDF elevations can also seed takeoff.
Conclusion
Planning a kitchen cabinet run means fitting appliances and boxes into measured elevations, freezing construction standards, batching cut lists by SKU, and buying the nested sheet count. Fillers and labels keep the install honest when walls are not square.
Start the material plan in Cutlistor with Pro at $12/mo if you need saved kitchen projects and DXF, or use the free tier to prove sheet count on your next elevation.