Article
How to Create a Cut List From a 3D Model (glTF, GLB, Collada)
Cutlistor Team3 min read
Introduction
If the design already exists as a 3D model, retyping every panel into a spreadsheet is wasted time. Cutlistor imports glTF, GLB, and Collada (.dae) so part geometry can become cut-list rows you verify, then nest in the browser.
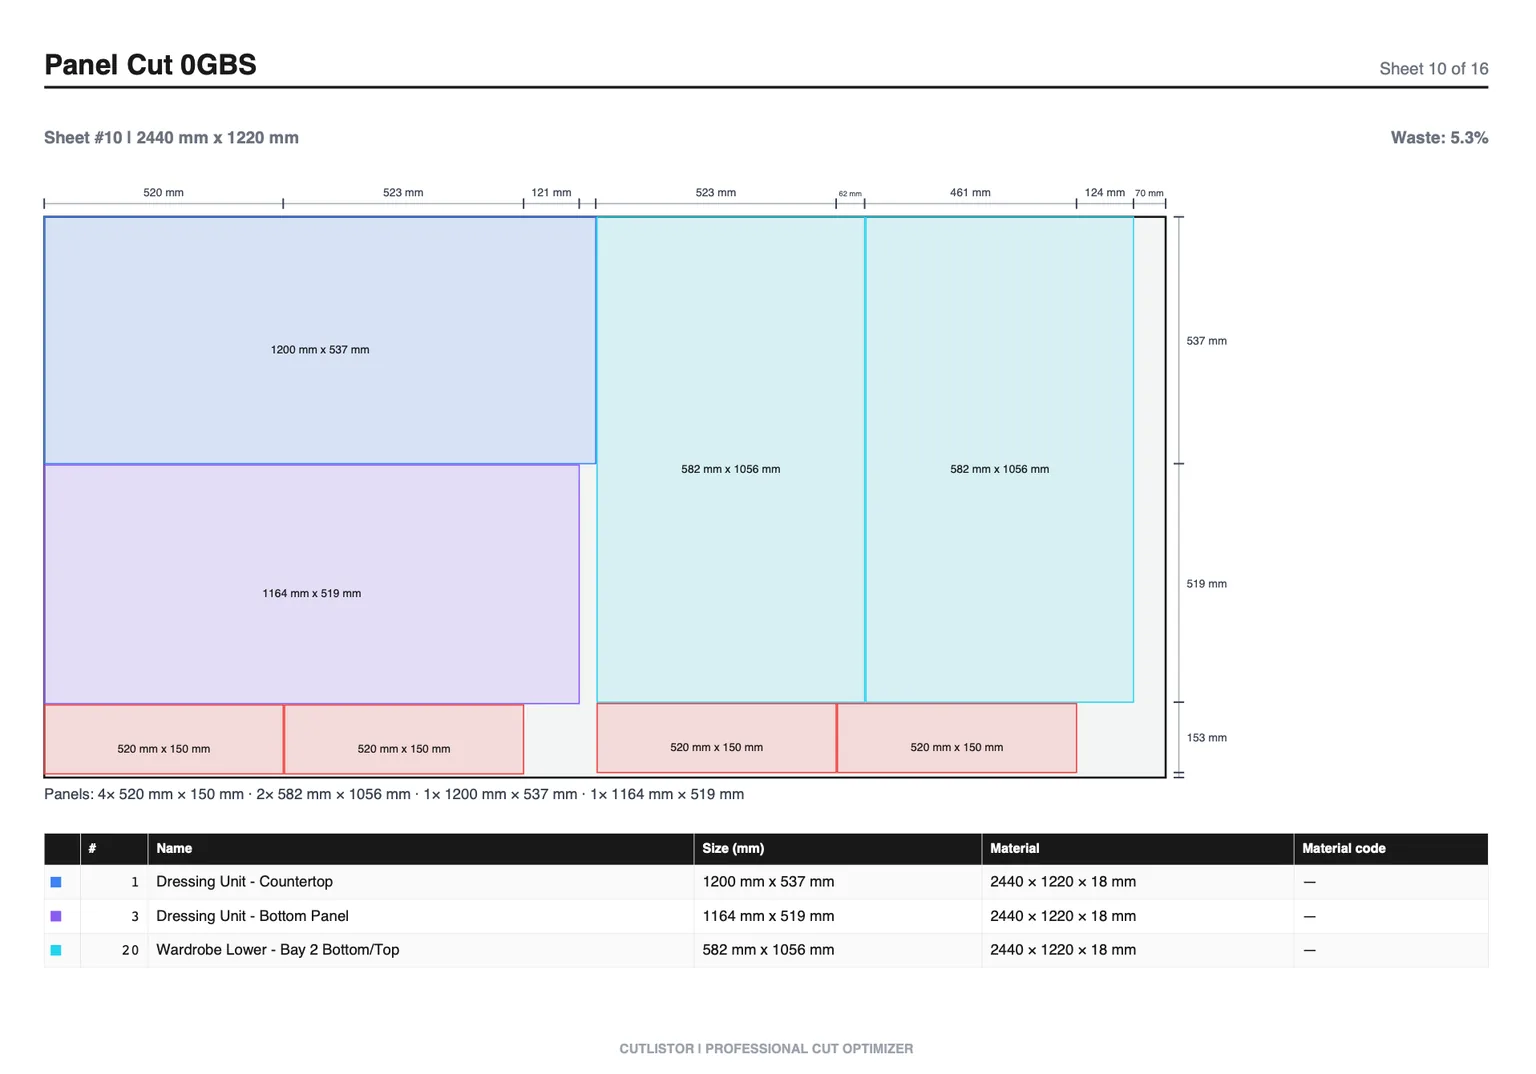
This guide covers export tips from common CAD tools, what the importer expects, how to clean the resulting BOM, and how sheet vs linear stock fit furniture and cabinet builds. For SketchUp- or Rhino-specific notes, use those dedicated articles and still land in Cutlistor for optimization.
Supported formats: glTF, GLB, Collada
| Format | Extension | Notes |
|---|---|---|
| glTF | .gltf | JSON + binaries; keep related files together when exporting |
| GLB | .glb | Single binary package; easiest to upload |
| Collada | .dae | XML-based interchange; confirm units on export |
Step 1: Export a clean model
Before export, explode or isolate only the parts you will cut. Remove hardware meshes, decorative screws, and room geometry. Apply real-world units. Prefer solids or simple rectangular panels over dense decorative meshes.
- One component (or named mesh) per cut part when possible
- Correct thickness on sheet panels
- Consistent unit system (mm or inches)
- No duplicate hidden copies of the same panel
- Grain-critical faces identifiable by name if your CAD supports it
From common CAD tools
SketchUp and Rhino users often export via available glTF/Collada paths or intermediate tools—see our SketchUp and Rhino cut list articles for CAD-side takeoff, then import sizes or models into Cutlistor. Other modelers that write GLB/glTF/Collada can upload directly when the mesh represents cut parts clearly.
Step 2: Import into Cutlistor
Read the free tier this way: iteration is free, delivery is budgeted. Editing parts and re-optimizing the sheet cost nothing and are unlimited, while PDF export and starting a fresh project draw on 3 per day. The row cap is 20 per list, spreadsheet import is 5 rows per file, and projects are not saved.
3D CAD imports share monthly free-tier quotas with other AI/model features; paid plans raise those limits. Everything still runs in the browser—nothing to install on the shop PC.
Step 3: Verify the BOM for woodworking
| Model issue | What to do in the cut list |
|---|---|
| Oversize bounding box from decorative profile | Enter true blank size for nesting |
| Mirrored left/right as two meshes | Keep two rows or one row qty 2 if identical |
| Hardware included | Delete those rows |
| Sheet + solid in one file | Tag materials; nest sheets and optimize lumber separately |
| Wrong units | Scale or re-export before nesting |
Step 4: Nest, re-optimize, export
Add stock sheets and board lengths, set kerf, lock grain on show faces, and watch the layout update as you edit. Export PDF cut plans for the floor. Paid plans can export DXF for CNC/CAM.
When to use PDF or CSV instead
Use AI PDF/image import when you only have drawings. Use CSV/XLSX when the BOM already lives in Excel or cabinet software. 3D import shines when the model is the source of truth and parts are mostly rectangular panels or clear solid blanks.
Furniture makers vs cabinet shops
Furniture builds often mix veneered plywood carcasses with solid lumber for legs and frames—run both optimizers. Cabinet shops may stay mostly on sheet nesting with melamine or plywood. See software guides for each audience.
Next steps
Prep materials before cutting, then batch jobs if you have several models sharing stock. For optimizer selection, see the 2026 software roundup.