Guide · 5 min read
What is material grouping?
Material grouping is the practice of splitting one job's part list into separate batches by stock type — thickness, finish, grade, sheet SKU, or stick family — then optimizing and cutting each batch on its own. A group is not a folder for convenience. It is a hard rule: parts in group A never nest on stock bought for group B. Without grouping, an optimizer treats every rectangle as interchangeable. With grouping, it packs only like with like — the same discipline a lead carpenter already uses when they stack sheets by SKU before the first rip.
Why material grouping matters
Grouping protects yield numbers, purchase orders, and shop PDFs. Mix 18 mm carcass plywood with 6 mm backs in one nest, and the layout may look efficient on screen while being useless on the floor.
Honest sheet and stick counts per SKU keep quotes and purchase orders accurate. Layouts stay runnable without swapping blades, vacuum pods, or stack colors mid-batch. PDFs and CSVs stay readable: one material title, then the parts and diagrams for that stock only.
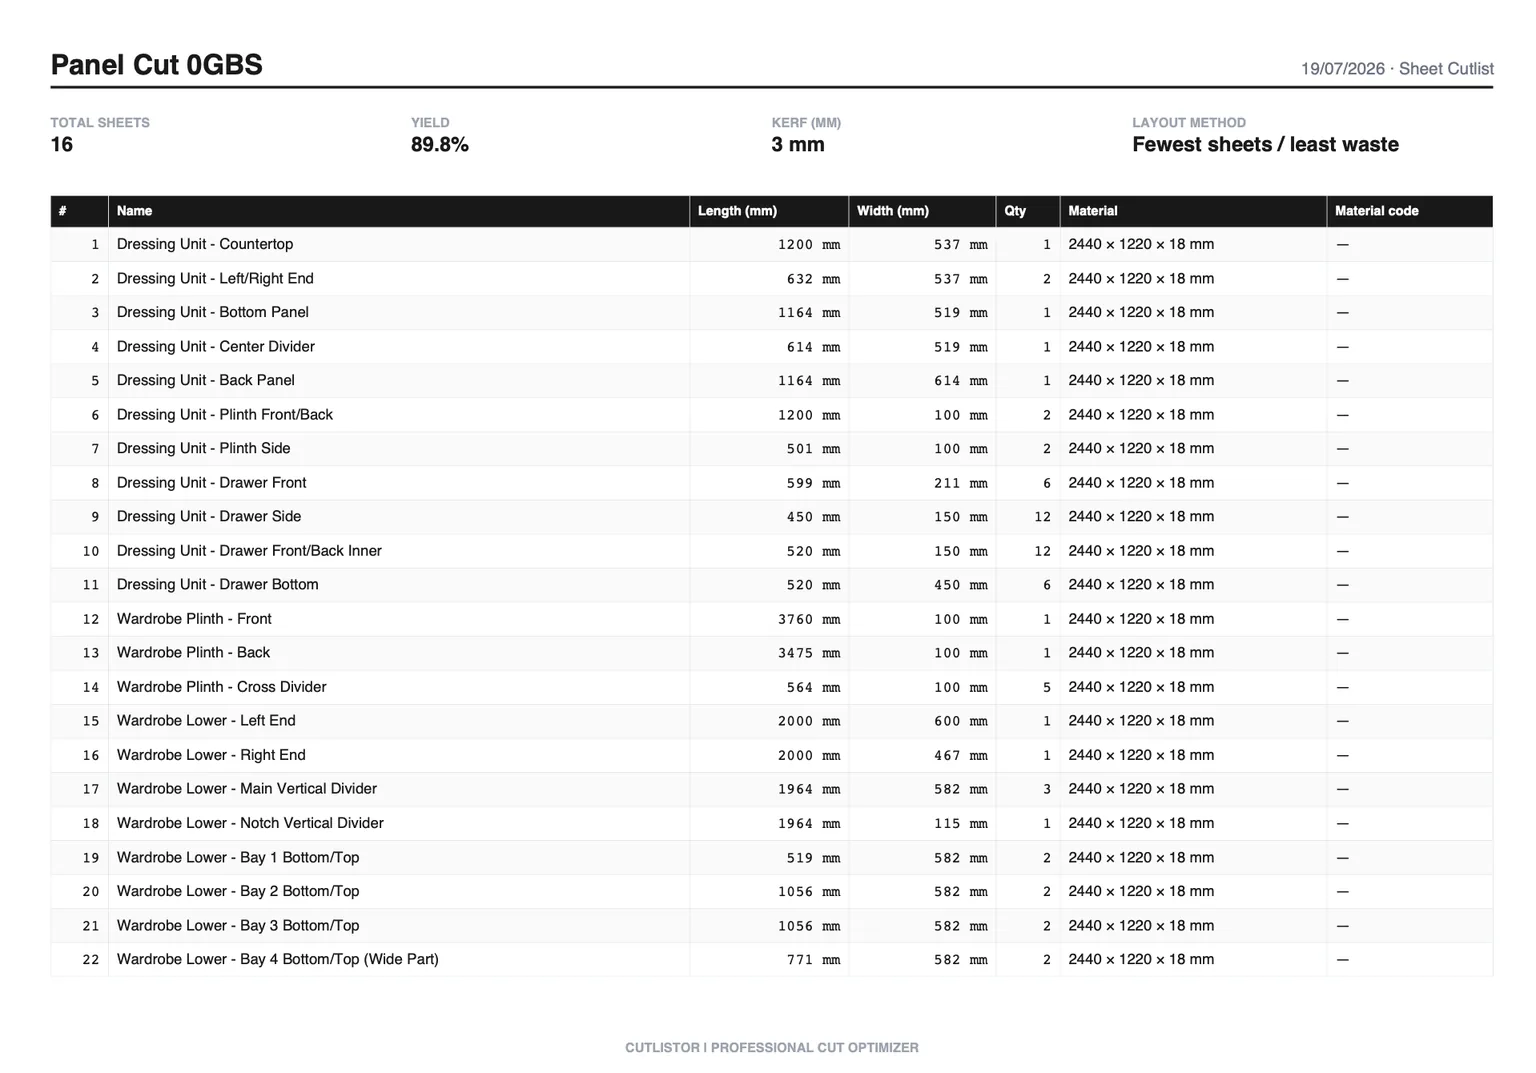
Worked example: one kitchen, three sheet groups
Take a small kitchen: birch ply doors, white melamine interiors, and MDF toe skins. Nest everything on generic 2440×1220 stock and the optimizer may promise a low sheet count — but you do not buy one anonymous sheet type. You buy three SKUs at three prices.
Split into three material groups, assign each part to the right SKU, and run the sheet optimizer per group. Door grain stays locked on ply, melamine interiors nest on melamine sheet sizes, and MDF toes stay on MDF. The sheet counts you hand to purchasing match what will leave the yard.
How to decide your groups
Start from purchasing and machine setup, not from the CAD layer names. If two parts would never share a purchased sheet or stick in real life, they should not share a group in the optimizer.
A useful rule of thumb: one group per line you would write on a lumberyard PO. If purchasing would order it as a separate line, nest it as a separate group.
| Split when… | Example | Keep together when… |
|---|---|---|
| Thickness differs | 18 mm boxes vs 6 mm backs | Same thickness, same SKU, same saw setup |
| Finish or face differs | Prefinished white melamine vs maple ply | Same finish code and stock size |
| Stock size or supplier SKU differs | 2750×1830 melamine vs 2440×1220 ply | You truly pull one SKU for the whole batch |
| Machine or kerf differs | CNC nest vs panel-saw breakdown | Same station will cut the whole group |
| Linear vs sheet stock | 2×4 cleats vs plywood gables | Never — run sheet and linear optimizers separately |
Sheet groups vs linear groups
Panel jobs group by sheet SKU: plywood grade, melamine color, MDF thickness, HPL core, and so on. Each group nests rectangles on that group's sheet size with its own kerf and grain locks. Visible faces usually need grain; shop backs often do not.
Stick jobs group by species, profile, or bar stock: pine 2×4s, oak face-frame stock, aluminium extrusion, PVC trim. Each group sequences lengths on that group's available stick lengths. Mitered ends stay inside the linear group that actually gets cut with a chop saw or stop system.
Never run sheet and linear parts through the same optimization pass — use the sheet optimizer for panels and the linear optimizer for sticks.
Material grouping mistakes that waste stock
- Mixing thicknesses on one nest because the parts are 'all plywood'
- Putting prefinished and unfinished panels in one group to chase a slightly better yield
- Using one generic sheet size when the yard stocks different sizes per SKU
- Leaving parts unassigned so they fall into the wrong batch — or get skipped on the PDF
- Grouping by CAD layer or room name instead of by purchased stock and machine setup
- Running sheet and linear parts through the same optimization pass
How Cutlistor handles material groups
In the full Cutlistor app, turn on multi-material support, add a materials row for each stock SKU, then assign every part to a material. Enable Material groups when you want the optimizer, pricing, and exports to stay split by those assignments.
With grouping on, Cutlistor nests each material on its own stock, shows yield and sheet or stick counts per group, and stamps material titles on PDF diagrams and part tables. CSV and DXF exports follow the same order so the office and the floor are looking at the same batches.
The free sheet and linear optimizers are built for single-material jobs. For mixed kitchens, closets, or fab runs with several SKUs, use the full app so each group keeps its own constraints.
FAQ
- What is material grouping in a cut list?
- Splitting parts by stock type — thickness, finish, SKU, or stick family — so each batch nests and cuts on its own purchased material.
- Should 18 mm plywood and 6 mm backs share one nest?
- No. Different thicknesses mean different stock rows and often different saw setups. Run one layout per material group.
- Do I need separate groups for sheet and linear stock?
- Yes. Panels go through the sheet optimizer; lumber, trim, pipe, and bar go through the linear optimizer.
- Does Cutlistor support material groups?
- Yes in the full app: multi-material rows, part assignment, and Material groups for nested layouts, pricing, and PDF/CSV/DXF export per stock SKU.
- Can I use material grouping on the free optimizers?
- The free tools are single-material. For mixed SKU jobs, use the full Cutlistor app.
Related guides
- Cutting plan efficiency explainedWhat cutting plan efficiency means, how yield is measured on sheet and linear jobs, and how linear cutting optimisation software improves results.
- Length nesting for linear stockLength nesting for lumber, pipe, and bar stock: how 1D nesting works, kerf, stock lengths, and Cutlistor’s free linear cut list optimizer.
- Cut list software that runs in your browserCut list software comparison: browser-based sheet and linear optimizers, AI plan scan, 3D CAD import, PDF and DXF export. No PC download required.
- Cut list optimiser: free online (UK spelling)Free online cut list optimiser for sheet goods and linear stock. Kerf-aware cutting list optimisation with PDF export. Browser-based, no download.